What Is Windows 11 Safe Mode and Why Do You Want to Boot into It?
Removing Malware: Safe Mode prevents most malware and viruses from loading, which can facilitate their removal.
Lets explore these methods step by step.
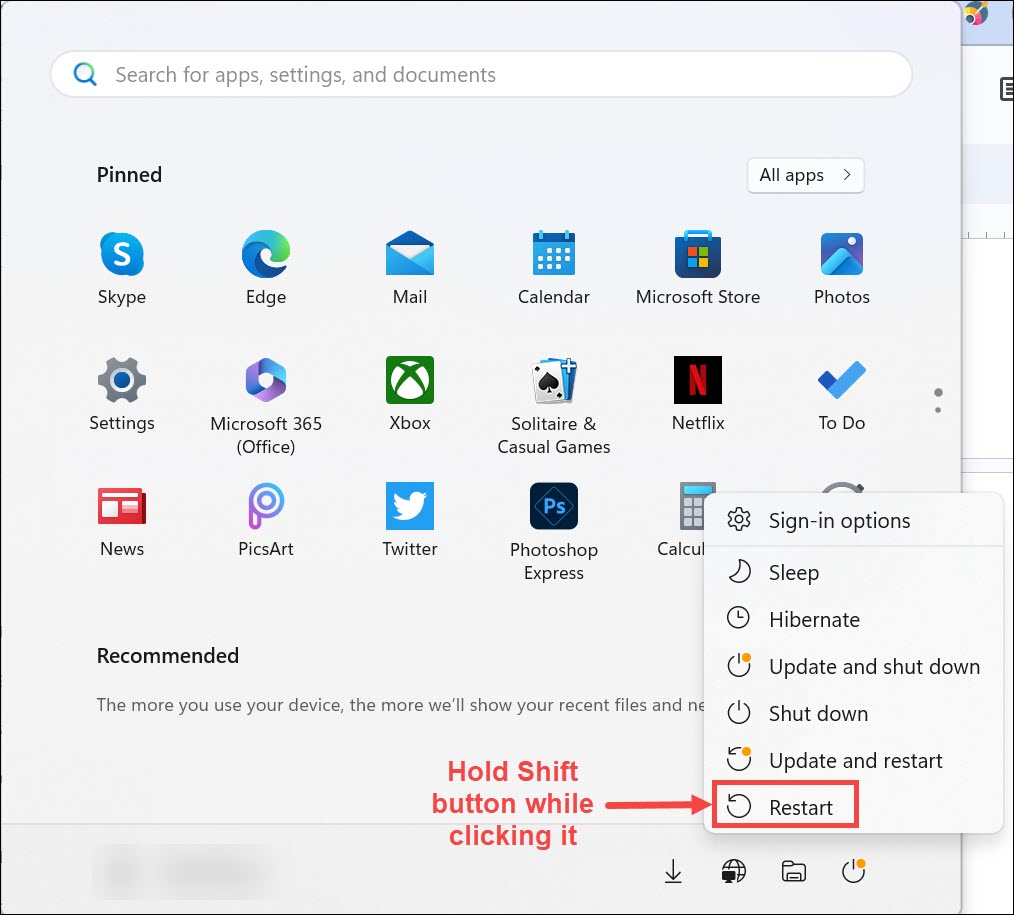
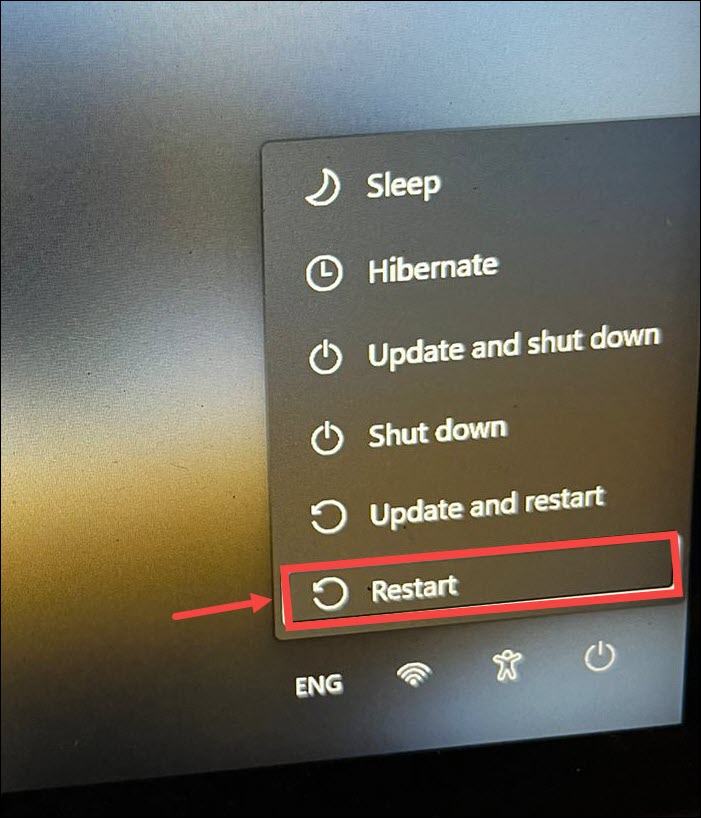
2.In the Start Menu, punch thePowericon.
This will expand various power options such as Sleep, Hibernate, Shutdown, and Restart.
3.you should probably choose theRestartoption and hold down theShiftkey while clicking on it.
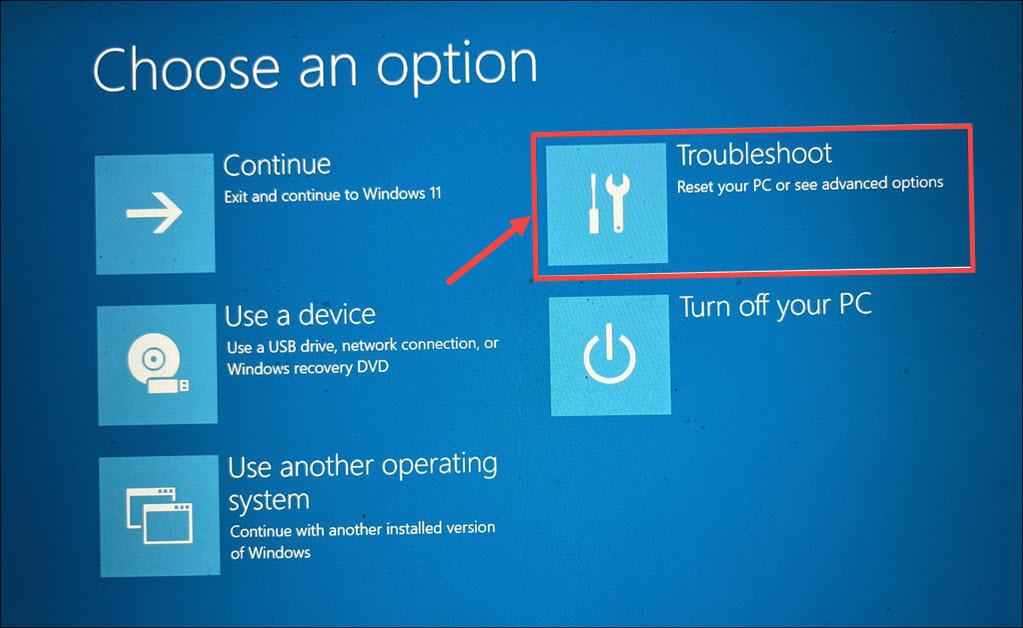
4.After the system restarts, selectTroubleshoot.
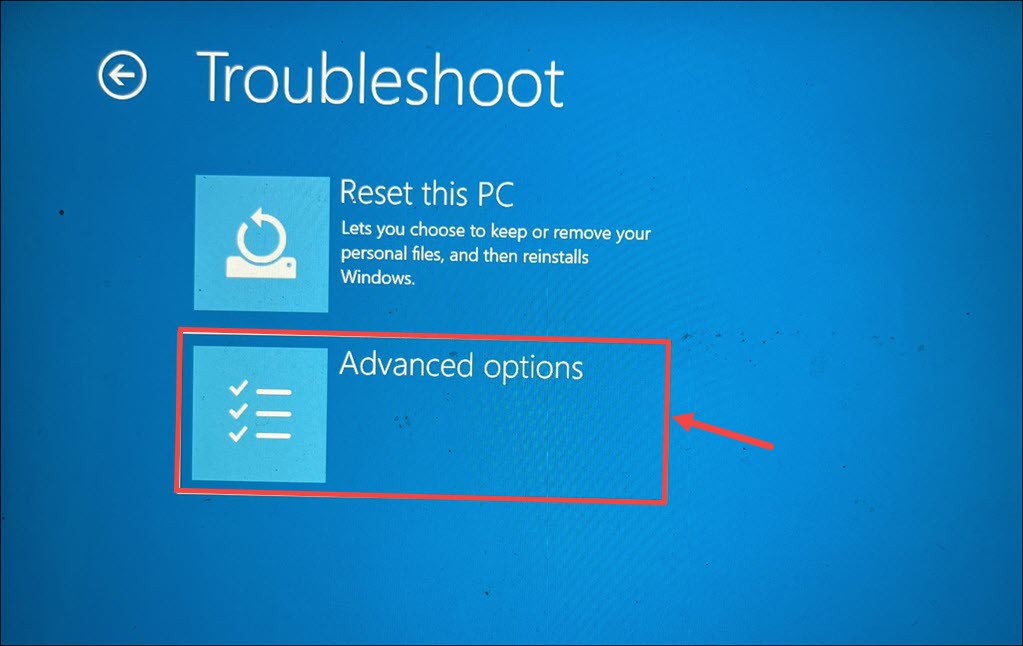
5.Next, choose theAdvanced optionsunder the Troubleshoot options.
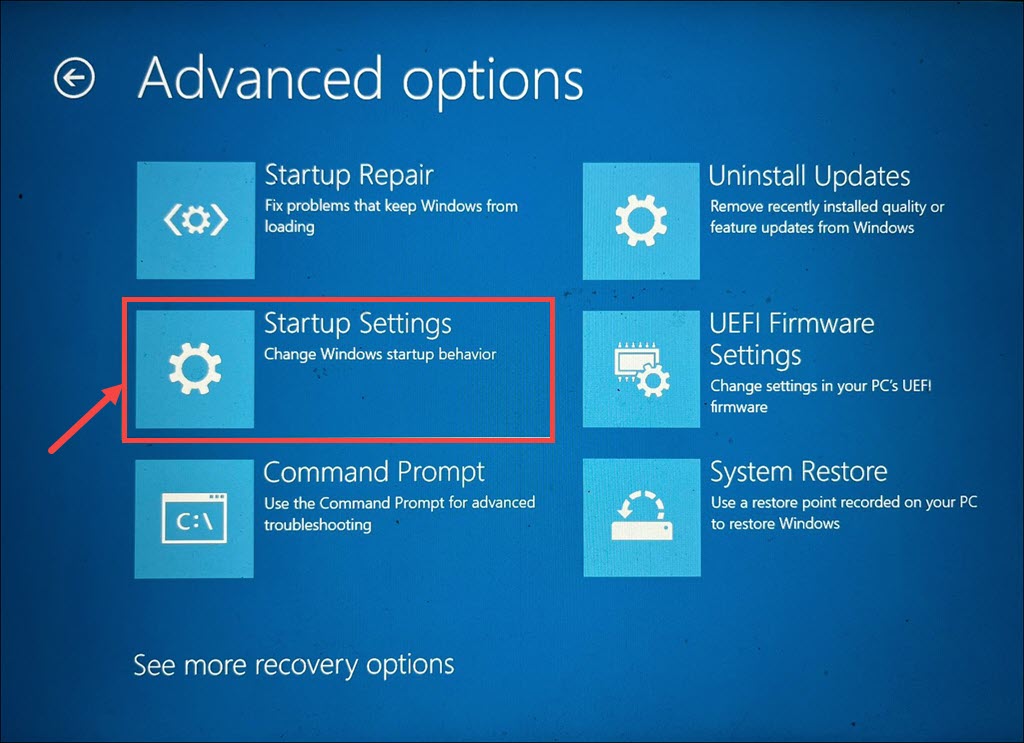
6.Under the Advanced options, selectStartup controls.
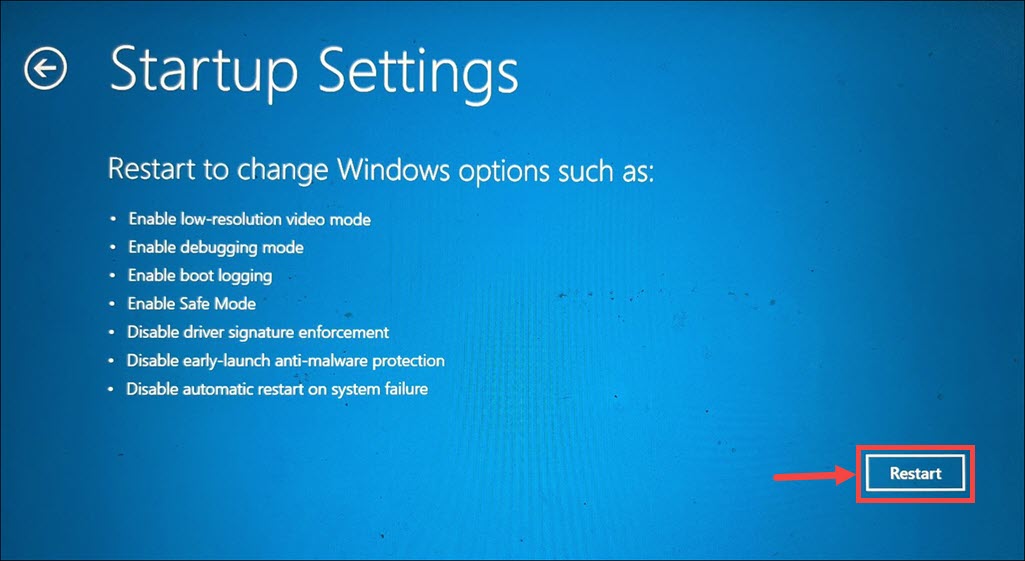
7.Click theRestartbutton under the next Window.
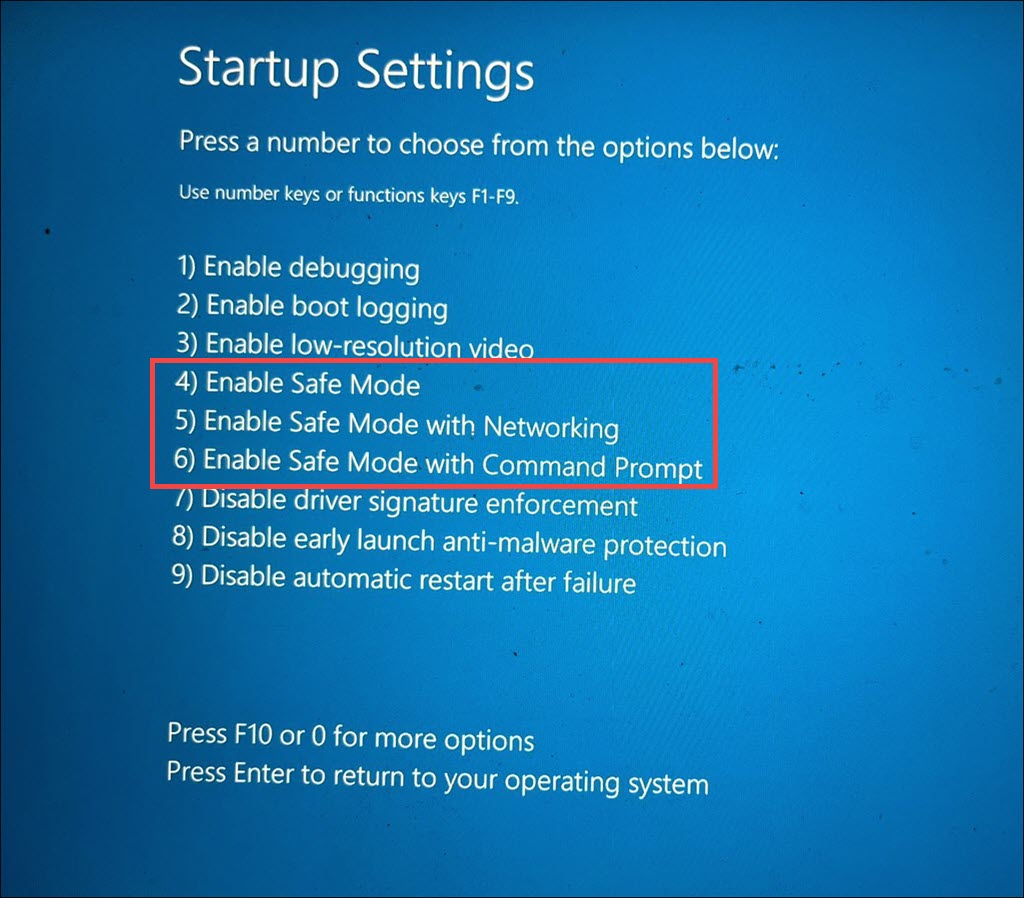
8.When the Startup configs menu appears, press the corresponding number key for Enable Safe Mode.
9.Your system will restart in Safe Mode.
Here are the steps for that:
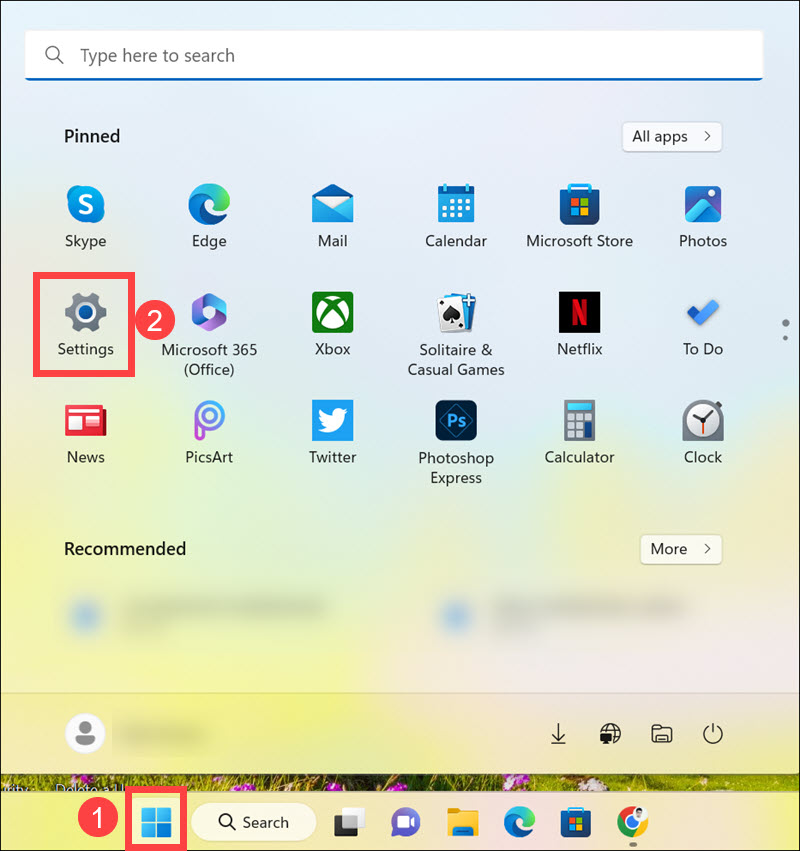
1.Click theStartbutton and grab the gear-shaped icon to open Windows 11 options.
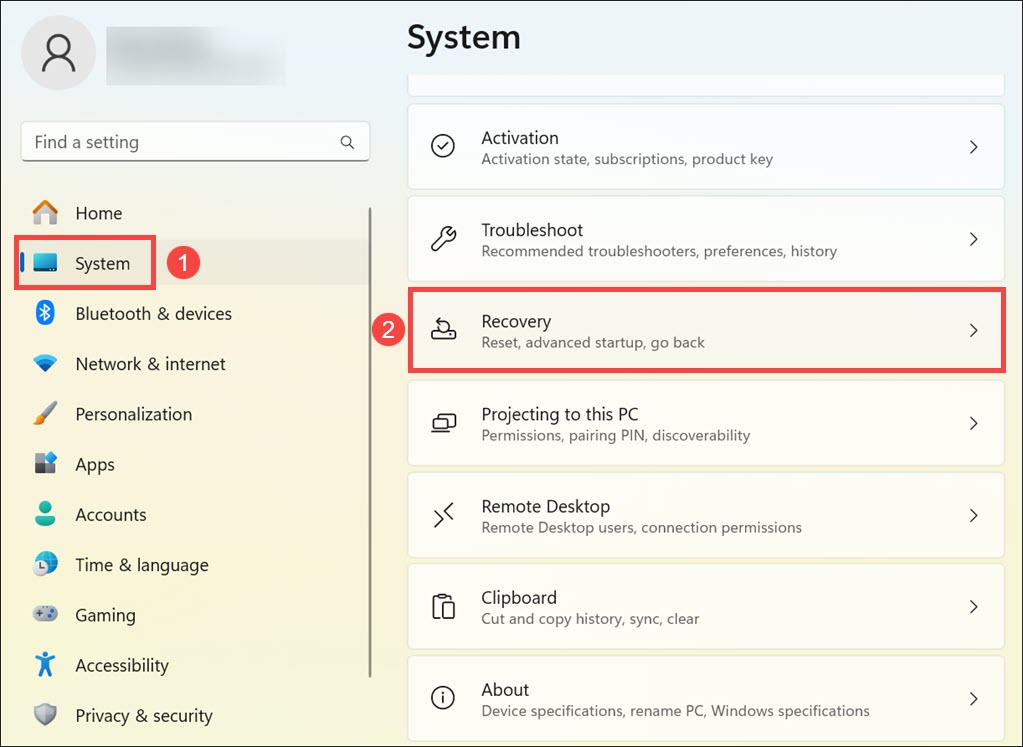
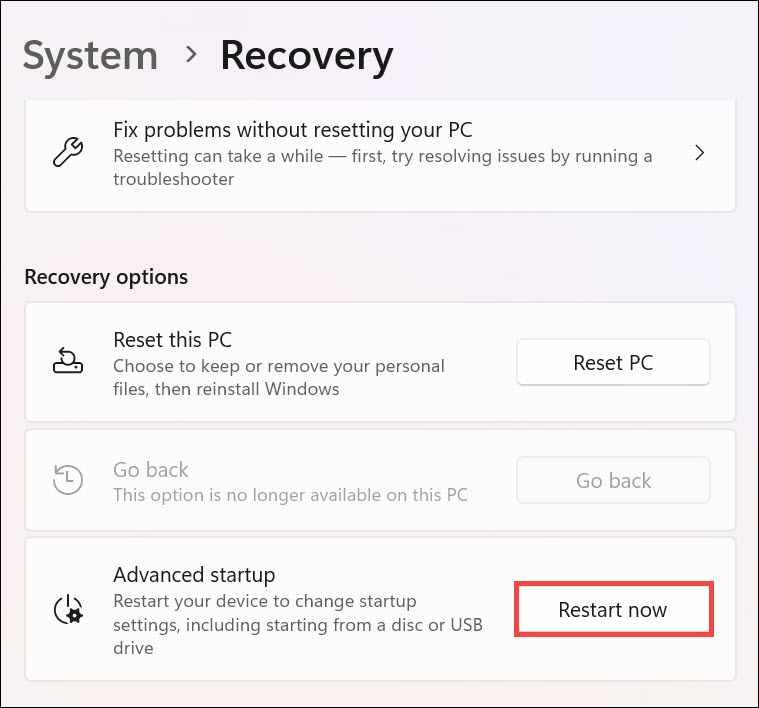
2.In Windows prefs, switch to theSystemtab on the left and selectRecoveryon the right.
3.Look for the Advanced startup under Recovery options and click onRestart nowbutton next to it.
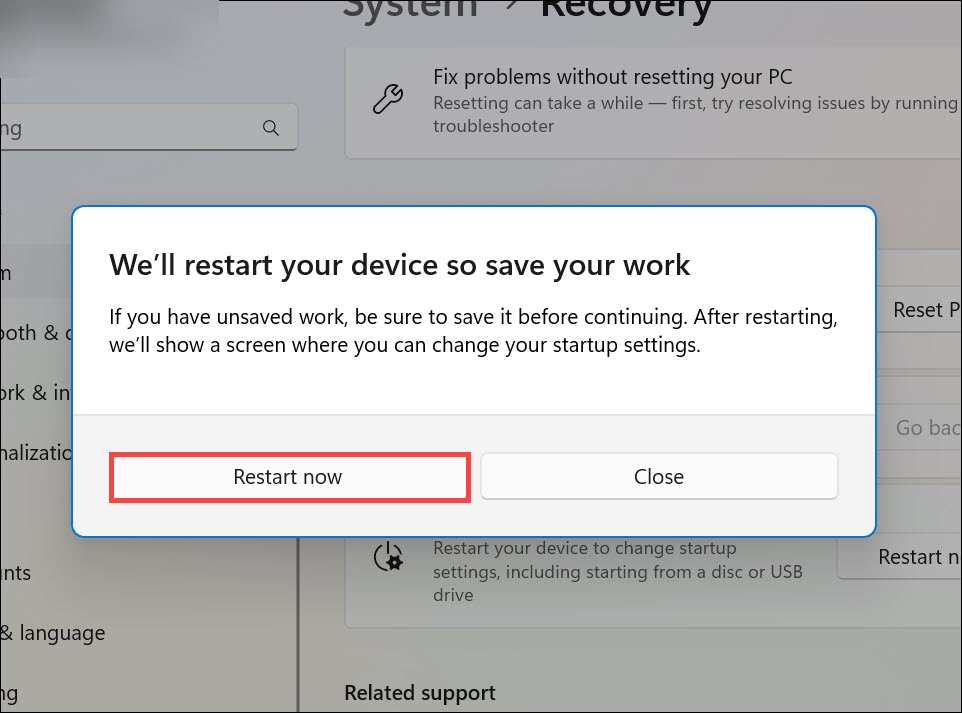
4.preserve your work and confirm the restart.
4.After the restart, selectTroubleshoot.
5.Navigate toAdvanced options > Startup controls > Restart.
7.Your system will be rebooted into Safe Mode.
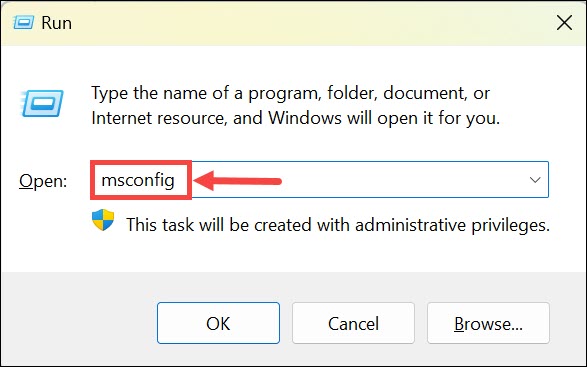
2.punch in msconfig in the Run dialog and press Enter.
3.In the System Configuration window, switch to theBoottab.
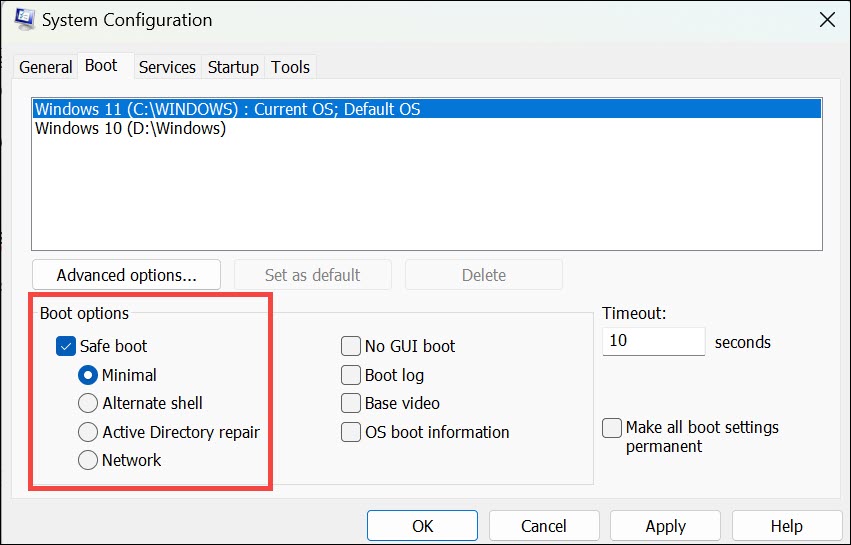
4.Under theBoot options, check theSafe bootand go for the appropriate Safe Mode option.
5.ClickApplyand thenOKto apply changes.
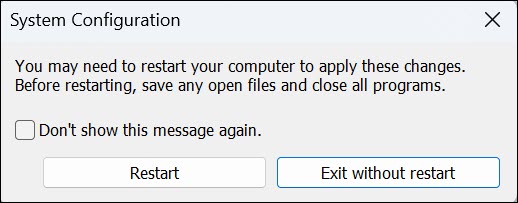
6.Windows will prompt you to start your gear to enter Safe Mode.
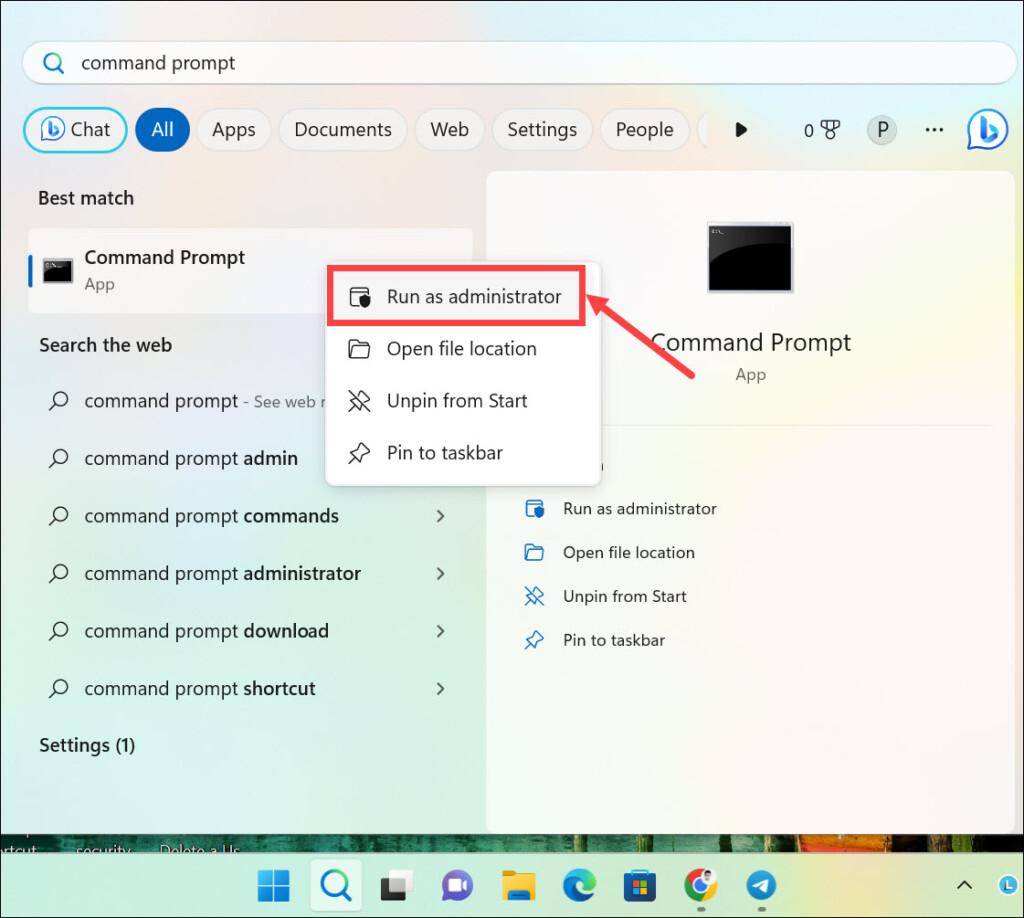
Right-press its icon and selectRun as Administrator.
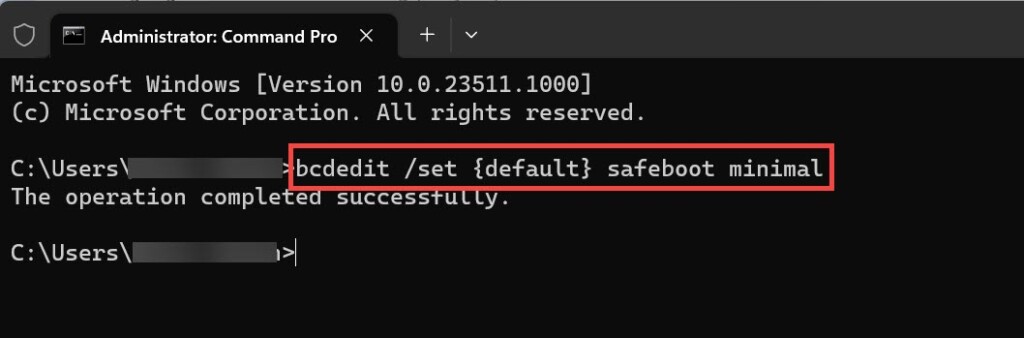
Wait for the The operation completed successfully message
3.reset your machine.
4.Your system will boot into Safe Mode with minimal utilities.
2.While holding down Shift Key, tap on the Power icon on the screen and then selectRestart.
3.Your system will be restarted.
After the restart, selectTroubleshoot.
4.Now, similar to previous methods, navigate toAdvanced options > Startup tweaks > Restart.
6.Your system will be restarted in the selected Safe Mode.
2.power cycle your system and boot from theRecovery Drive.
3.On the next screen, grab the suitablekeyboard layout.
4.Now, under the Choose an option, selectTroubleshootfrom the Recovery Drive menu.
5.Navigate toAdvanced options > Startup tweaks > Restart.
6.As mentioned in previous methods, press the corresponding number key under the Startup prefs menu.
7.Your system will restart into Safe Mode.
This screen usually appears after the 3 unsuccessful boot attempts.
2.Click theAdvanced optionsbutton under the Automatic Repair window.
3.On the next screen, select theTroubleshootoption.
4.From here, the process is the same as the previous methods.
6.Your system will restart in that Safe Mode.
2.start your box and boot from the installation rig.
3.The Windows Setup window will be launched.
4.Click theRepair your computeroption at the bottom.
5.Next, navigate toAdvanced options > Command Prompt.
Wait for the The operation completed successfully message on the command line window.
7.kill the Command Prompt window, selectContinueto exit, and continue to Windows 11.
8.The system will reboot into Safe Mode.
FAQs
Recognizing that you are in Safe Mode is crucial.
Look for the words Safe Mode in all four corners of the screen and a stripped-down interface.
The methods provided in this guide are specific to Windows 11.
Yes, you might reach the internet in Safe Mode if necessary.
However, some networking functionalities might be limited or disabled.
Yes, you might uninstall software in Safe Mode.
This can be particularly useful when problematic software prevents your setup from booting normally.
Remember to exit Safe Mode after troubleshooting to restore full functionality to your gear.
