PowerShell is a tool used to manage computer tasks.
In this article, we will show you how to manage Windows Defender with PowerShell.
Keep reading to get specific command lines.
Some users received the Verifying shim SBAT data failed error after installing Win 11 August 2024 update KB5041585.
Here is how to fix it.
In the Windows search box, typePowerShelland then selectRun as administratorunderWindows PowerShellin the right pane.
If a UAC window appears, click theYesoption to continue.
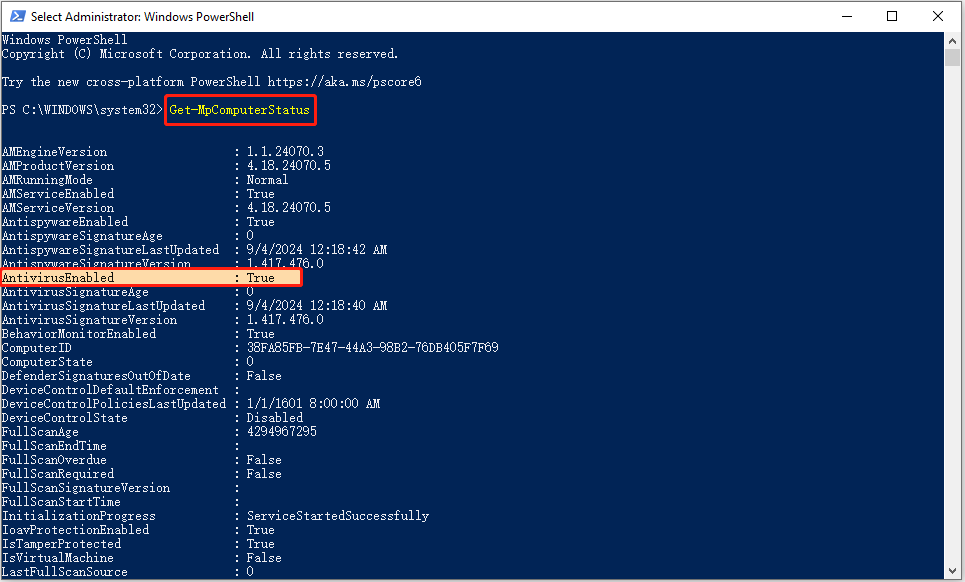
In the command line window, typeGet-MpComputerStatusand pressEnter.
In the new window, if the value ofAntivirusEnabledisTrue, it means that the Windows Defender antivirus is running.
If theAntivirusEnabledstatus shows asFalse, it indicates that Windows Defender is disabled.
Quick scan:
jot down this command:Start-MpScan -ScanType QuickScanin the command line window and pressEnter.
Then a quick scan will start.
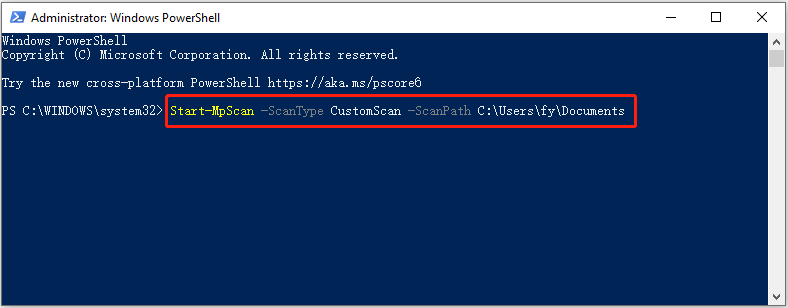
Custom scan:
Windows Defender allows you to select specific drives or locations to check for viruses.
Here you might see how to complete this task via PowerShell.
First, confirm the location/drive you want to scan.
![[SOLVED] Windows Defender Deleted Files, How To Get Back Easily](https://images.minitool.com/minitool.com/images/uploads/2018/08/restore-files-from-windows-defender-thumbnail.png)
Second, typeStart-MpScan -ScanType CustomScan -ScanPath file location pathand pressEnter.
you oughta replace thefile location pathwith the actual directory.
Remember to replace theusernamewith the actual one.
This scan runs outside of the Windows kernel so it can inspect and clean your system more thoroughly.
InputStart-MpWDOScanand pressEnterto start scanning for viruses offline.
This is all about how to manage Windows Defender with PowerShell.
Windows Data Recovery Software Recommended:
There are many cases of data loss due to virus infection.
you’re free to download it and have a try.
Bottom Line
How to manage Windows Defender with PowerShell?
