We have always assumed thatNotePadand WordPad share the same functions.
But thats not true.
Its an upgraded version of NotePad and a simplified version of MS Word.
Anyone who has used Microsoft Word can easily use WordPad without the need for any tutorial.
But those who are new to Windows will need some guidance.
Thus, in this guide, weve talked about every feature of WordPad in a detailed manner.
So, it’s possible for you to learn WordPad properly and become better at using it.
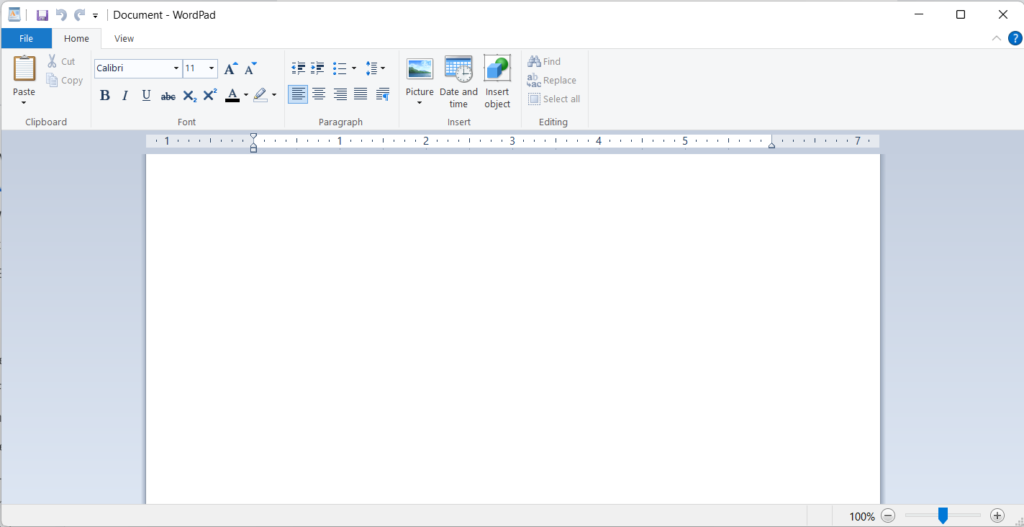
What Is WordPad In Windows 11?
WordPad comes with all versions of Windows and can be found easily by following some easy steps.
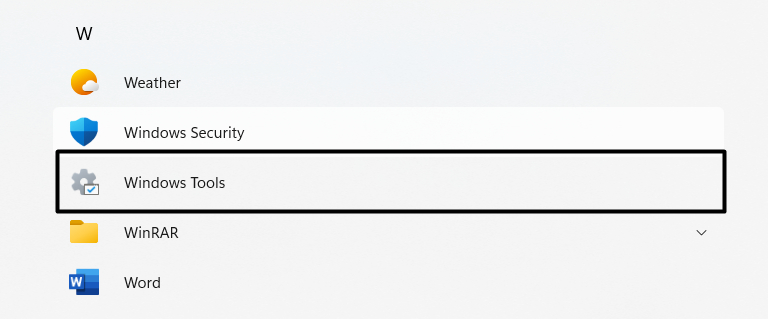
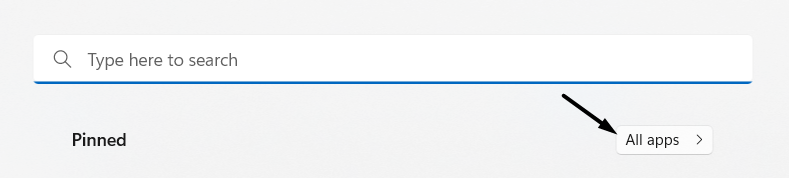
2.Now, search for theWindows Toolsin theAll Appssection andclick on itto kick off the program on the system.
Next, look forWordPadin theWindows Toolssection and choose it to bring up the WordPad program on the PC.
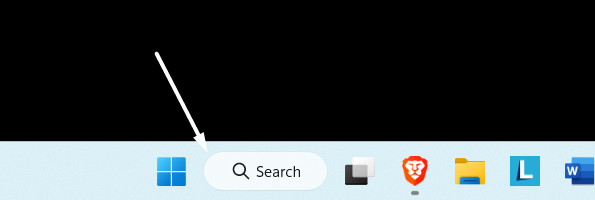
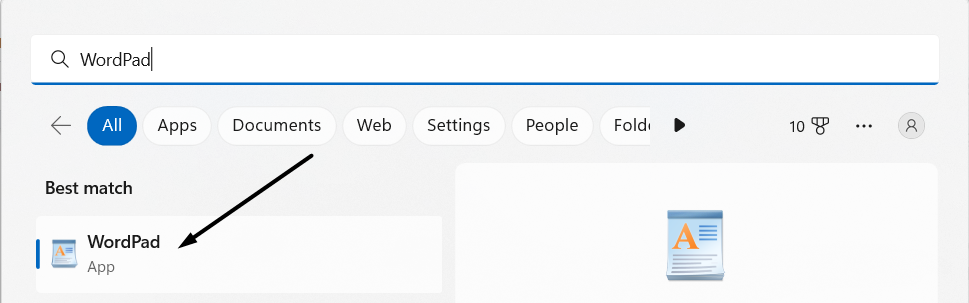
2.Now, typeWordPadin theSearch Boxand select theWordPad appfrom theBest matchsection to launch it.

Via Run
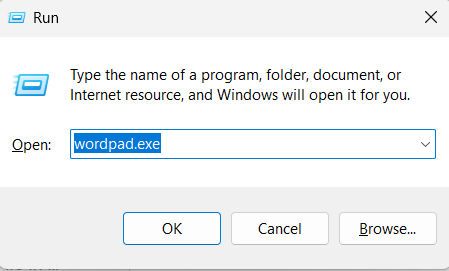
1.Open theRun utilityon your Windows 11 PC with theWindows + Rshortcut and typewordpad.exein theRun Box.
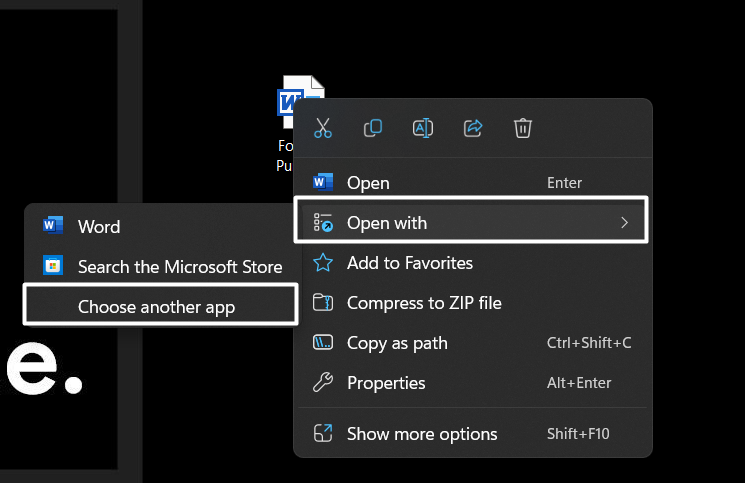
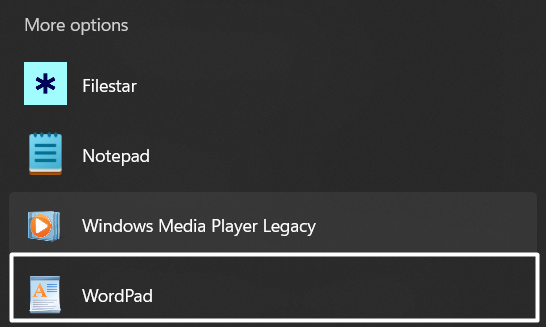
4.Lastly, choose theWordPad appfrom theMore Optionssection and open theWordPad program.
You cant use other functions without opening a document in WordPad.
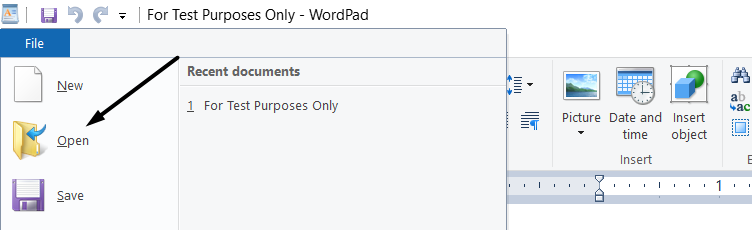
2.Now, click onOpenin the dropdown menu andselect the filethat you want to open in the WordPad program.
Pro Tip:you might alsoopen an existing RTF documentin the WordPad program using theCtrl + Okeyboard shortcut.
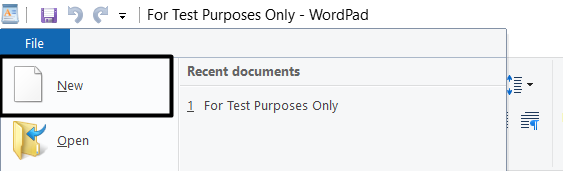
2.Lastly, punch theNewoption in the dropdown menu, and itll open a blank document on the current window.
All menus include multiple different options, and all have different purposes.
Some options in the menus are self-explanatory.
Whereas some options require a detailed introduction to understand them in a proper manner.
Here in this section, weve explained all the options present in all menus in detail.
you might read this section to know the use of each option in the ribbon menu.
Save:The Save option in the ribbon menu lets ussave the active or opened documentin WordPad.
Its one of the most important functions of the WordPad.
it’s possible for you to also save a document by pressing theCtrl + Skeyboard shortcut.
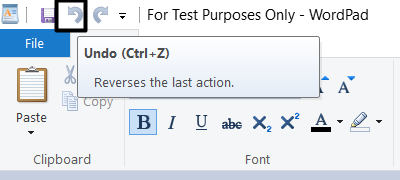
Undo:The Undo option lets us reverse the last action in WordPad.
you’re free to also do the same by pressing theCtrl + Zkey combination.
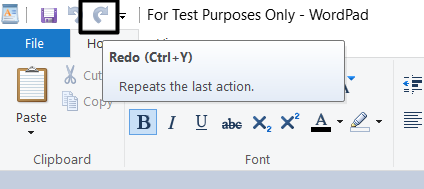
Redo:The Redo option is quite the opposite of the Undo option.
We use the Undo option torestore previously done actions.
it’s possible for you to also use the Redo option by pressing theCtrl + Yshortcut.
QuickAccess Toolbar:Youll also see theCustomize Quick Access Toolbarnext to theRedooption.
This option will let youcustomize the top ribbon menu.
it’s possible for you to select which option should be present in the ribbon menu and which not.
WordPad File Menu Explained
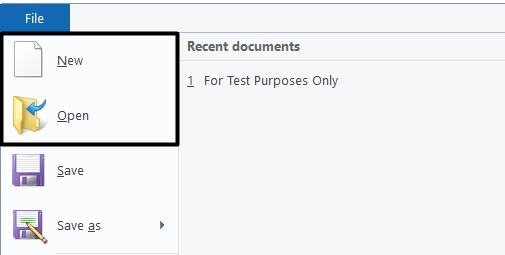
Underneath the top ribbon menu, youll see theFile menu.
The File menu includesnine optionsand theRecent documentssection on the right side.
The Recent documents sectionshows all the files youve openedin the WordPad app.
it’s possible for you to also open documents from the Recent documents section for easy access.
This was about the Recent documents section.
Lets now talk about the other nine options in the File menu.
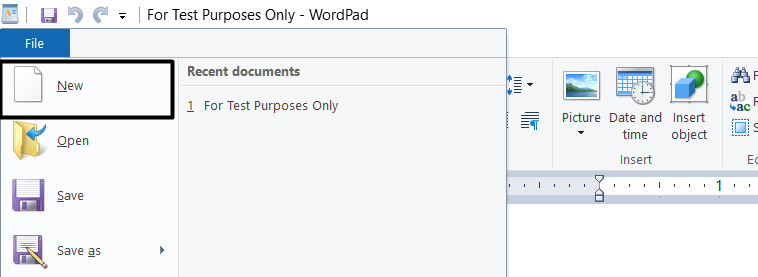
It simply opens a new blank document in the WordPad app.
it’s possible for you to also create a new file using theCtrl + Nkey combination.
Open:The Open option lets youopen an existing RTF, DOCS, and TXT documentin the program.
Some users also use theCtrl + Okeyboard shortcut to open an existing file.
it’s possible for you to also try the same shortcut.
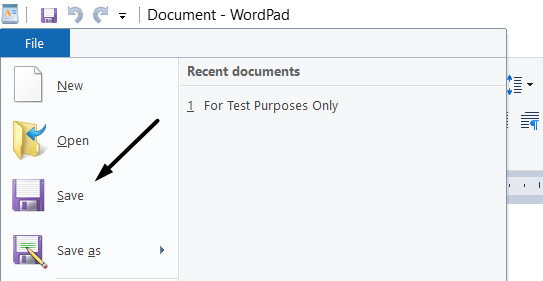
Save:The Save option is used tosave the active filein the WordPad program.
This way, you wont lose the recent changes we made to the file.
you’re able to also use theCtrl + Skeyboard shortcut to save the document.
Save as:The Save As option comes in handy when replacingan existing document with a new one.
However, it deletes the existing document because it overwrites it with a new one.
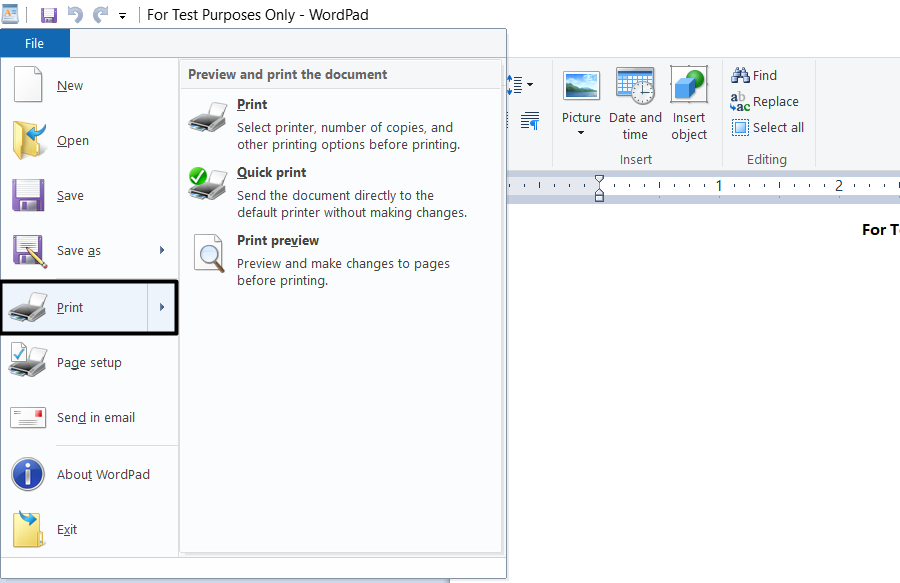
Print:it’s possible for you to understand the use of this option by its name itself.
The Print option is used toprint the active documentusing the default printer.
The Quick Print lets youquickly printthe documentwithout opening the preview pane.
In the end, thePrint Previewoption allows us topreview the document before printing.
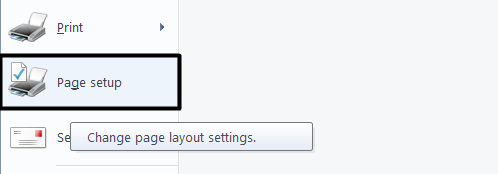
Page Setup:The Page Setup option in the menu lets youchange the page size of the document.
Besides this, you could adjust the page margin from the Page Setup section.
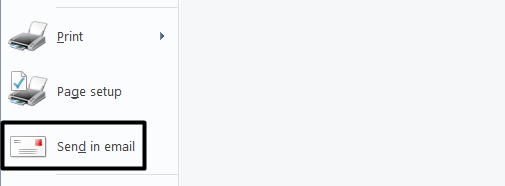
This way, you dont need to download the document on the system.
Simply tap on the option and share it with anyone you want.
Here in this section, weve explained all four sections and their options in detail.
So, follow us to know more.
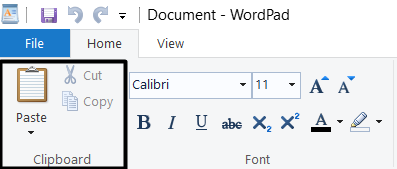
The Clipboard section features three options:Paste,Cut, and Copy.
Since you use these functions daily while browsing or writing, you must be familiar with them.
TheCut (Ctrl + X)optioncopies a particular textin the clipboard andremoves it from the current location.
WhereasCopy(Ctrl + C)enables you tocopy a specific text, it doesnt remove the existing text.
you’ve got the option to delete it manually using theBackspaceorDeletekeys on the keyboard.
In the end,Paste (Ctrl + V)allows topaste the copied textto any document you want.
The Font section includes some options that let us make the documents text look more professional.
It includes twelve options, and weve explained them in detail in this section.
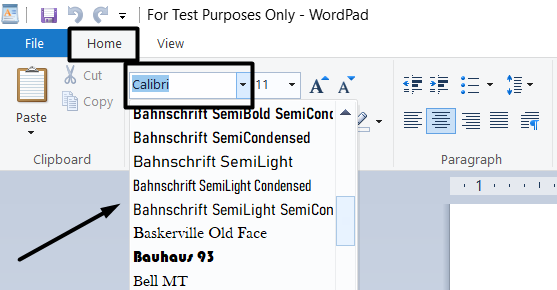
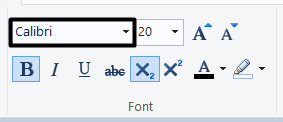
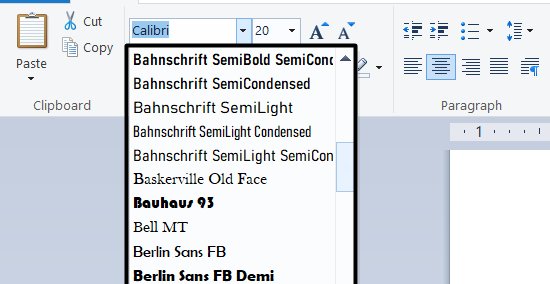
you might punch thedownward arrownext to the Font Picker to view all the available fonts.
Surprisingly, you’ve got the option to choose from 150+ fonts.
Also, you might upload our customized fonts from the configs app.
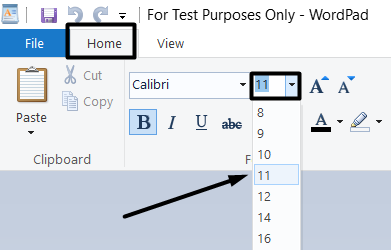
By default, the size would be set to11.
you might keep the font size as small as8and as large as1638.4.
Once you choose the font size from the dropdown, the change will reflect immediately in the document.
Grow Font & Shrink Font:As the name suggests, theGrow fontoption lets you increase the font size.
On the other hand, theShrink fontoption is used toreduce the font size.
Change Typography:Here,typographyrefers to four options:Bold,Italic,Underline, andStrikethrough.
All four options help make the text look better.
The Bold optionmakes the text heavier.
It adds a new layer to the text, which makes it look aggressive.
TheItalicoption changes thetext font to italic but it doesnt change the font family.
Underline and Strikethrough are the easiest to understand.
The Underline optiondraws a line below the selected text.
At the same time, Strikethroughcuts the text from the middlewith a horizontal line.
you could also use these options with keyboard shortcuts.
Weve mentioned those shortcuts in thetable below.
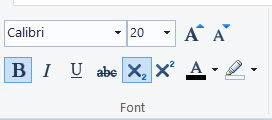
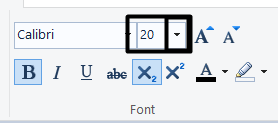
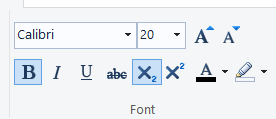
Subscript & Superscript:The Subscript and Superscript option might be new to you.

Let us explain this to you in laymans language.Subscriptmakes thetext smaller and lower than the regular text.
Whereas theSuperscriptis the opposite of this.
It draws thetext smaller and higher than usual.
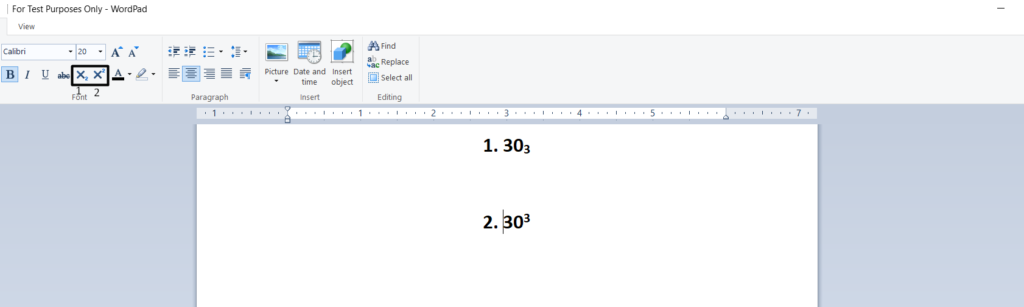
These options mostly come in use at the time of writing values or powers to the numbers.
c’mon check the mentioned image attached below for better clarification.
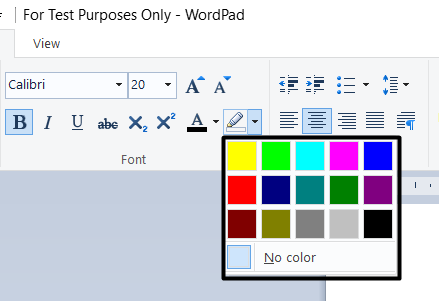
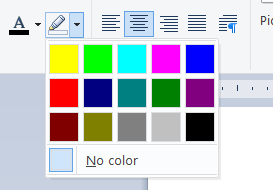
you’re free to highlight the text with fifteen color choices, including Yellow and Green.
So, highlight the important part of the document to focus more on it.
The Paragraph section lets you work on the formatting of the text in the document.
So the document looks well-organized and neat.
The Paragraph section includes a lot of options.
Lets not wait anymore and learn more about all the options.
you’re free to choose indentation values according to how your document should look.

The Increase indent option lets youincrease the indent levelof the paragraph.
On the other hand, the Decrease indent option is the opposite of it.
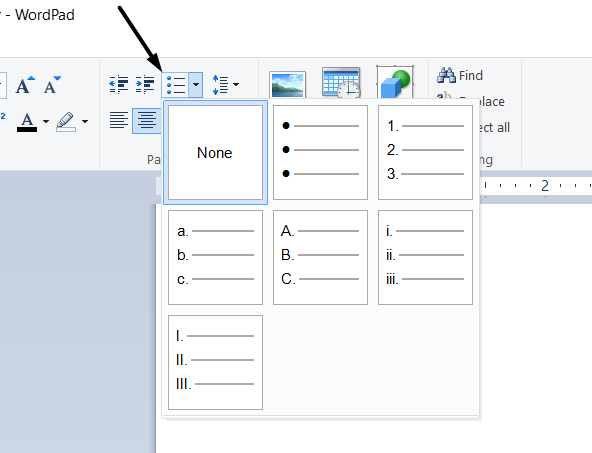
Start a list:When you hit the Start a list option, itautomatically creates a new bullet list.
you could modify the vertical space between the lines of text in your document using theLine spacingoption.
This ensures that the text looks neat, which can make it easier to read for readers.
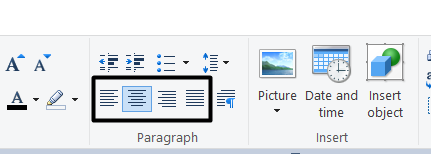
Text Alignment:The proper text alignment is necessary to make the document look professional and clean.
you’re free to also do all this with the help of shortcuts.
Simply keep the arrow on any alignment option, and youll see the shortcut there.
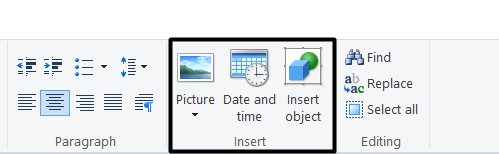
The Insert section allows to add extra elements to the documents.

It includes three options:Picture,Date and time, andInsert object.
All these can be understood by their name and barely need an introduction.
In short, thePictureoption lets youadd an imageto the document.
Whereas theDate and timeoption lets youshow thedate and timein the document.
The Editing section is one of the most important sections of the View menu.
It features three options:Find,ReplaceandSelect all.
Most of you know the use of these three options.
Lets recall once again.
TheFindoptionlets you find a particular word or sentencein the document.
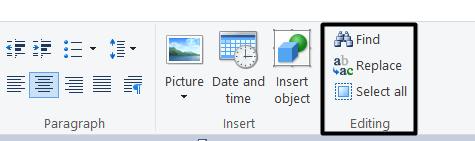
you might also initiate the Find dialog box using theCtrl + Fkey combination.
TheReplaceoption lets youreplace a word or sentence in the document with another word or sentence.
An easy way to pop launch the Replace dialog box is by pressing theCtrl and Hkeys simultaneously.
At last, theSelect alloption lets youselect all the content in the documentin one go.
you’re free to access theSelect alloption using theCtrl + Akeyboard shortcut.
WordPad View Menu Explained
The last menu that remains out of all is theView menu.
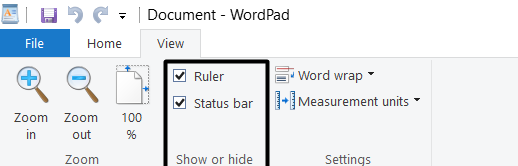
This menu lets you modify your WordPad user interface.
For instance, it’s possible for you to enable/disable WordWrap, Status, Bar Ruler, etc.
Its divided into three different sections:Zoom,Show or hide, andSettings.
All three sections have different options.
Its time to know about all the options in detail in this section.
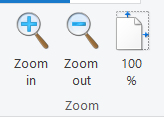
Youll find three options in the Zoom section:Zoom in,Zoom out, and100%.
As you all know, the Zoom in option lets youtake a close view of the document.
Furthermore, the Zoom out option allows you toview the entire document at a reduced size.
When you use the Zoom out option, the text becomes smaller and difficult to read.
Lastly, the 100% option in the Zoom sectionautomatically adjusts the sheet sizeaccording to the monitor size.
In the Show or hide section, youll see two options:RulerandStatus Bar.
Both are essential elements of the WordPad app.
it’s possible for you to see the Ruler at the top of the page.
It helps youchange thedocument format and the texts alignment.
On the other hand, the Status Bar can be found at the bottom of the document.
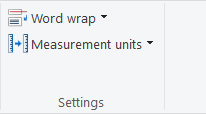
The tweaks section will have two options:Word WrapandMeasurement units.
Heres a short introduction if you dont know the use of WordWrap.
This section also lets youchange the measurement unitsof the Ruler.
So, these were the main menus of the WordPad app.
We hope all the WordPad menus are clear to you now.
We suggest reading this section until the end to learn more about its other functions in detail.
We are still recalling them for you, so keep reading.
But it removes the text from the current document or location.
you might also cut text using theCtrl + Xkeyboard combination.
The Copy option works thesame as the Cut optionbut doesnt remove the text from the document.
it’s possible for you to use the Copy function by simply pressing theCtrl + Ckeyboard shortcut.
On the other hand,Pastelets youpaste the copied textinto another document.
How To Change Fonts and Font Size In WordPad
Of course!
You may want to make your document look appealing as well as easy to read and scan for readers.
WordPad allows to choose from hundreds of font options.
In this section, weve demonstrated how to change the text font and size.
1.First, open theWordPad appon your Windows 11 PC, andcreate a new or open an existing document.
3.After that,opt for fontyou want to keep for the selected text.
Once done, the changes will appear immediately.
4.Finally, choose thedropdown arrownext toFont Size Pickerandselect the font sizethat makes the document easy to scan.
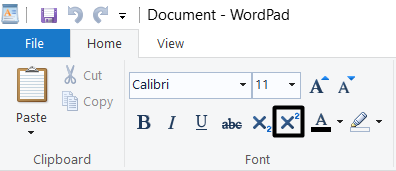
3.Now, look for theSubscriptoption in theFontsection, andclick on itto Subscript the selected text instantly.
4.Or, youll find theSuperscriptoption next to theSubscriptoption.
Simply select it to Superscript the text.
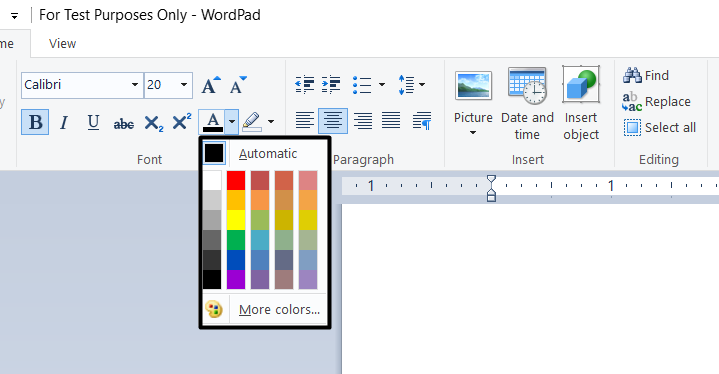
3.By default,the text color would be set toBlack.You canchoose the coloryou want from the color tray.

So, we wont repeat the same thing.
If you want to increase the indent, click onIncrease indentin theParagraphsection.
you’re free to change theindentation settingsfrom theParagraph dialog.
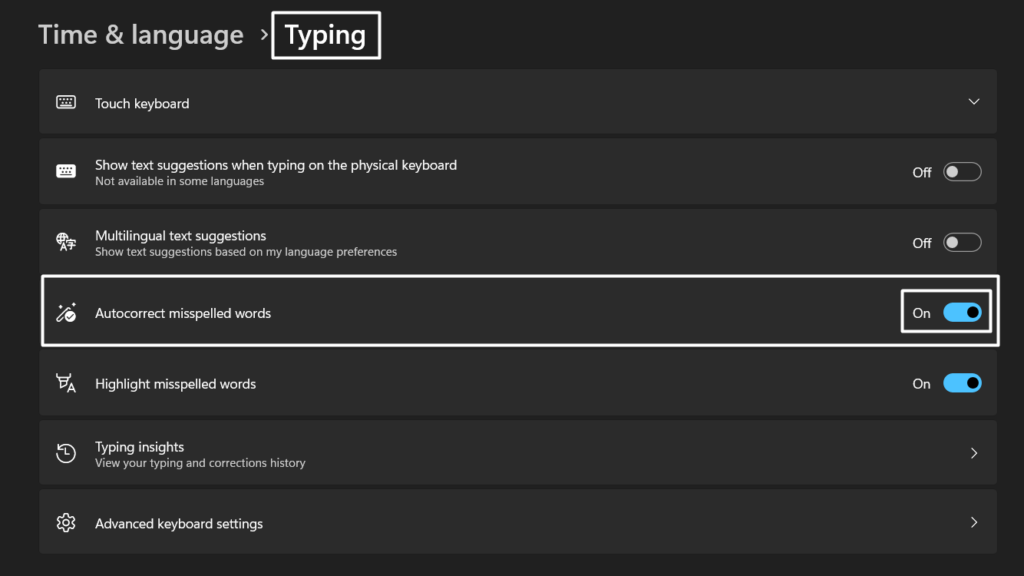
But Windows has an integrated spelling checker, which highlights the wrong spelling at the time of writing.
Sometimes, it also autocorrects them.
you oughta enable theAuto-correct misspelled words optionin theKeyboard settingsto allow the spell checker to work system-wide.
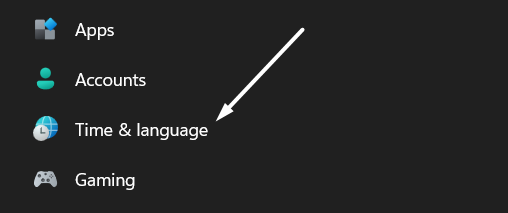
2.Now, click onKeyboardin theTime & languagesection to open all the keyboard-related parameters.
Lastly, enable theAuto-correct misspelled wordstoggle.
Otherwise, youll lose all the progress, and all your efforts will be drowned in the water.
Its simple to save a document in the WordPad app.
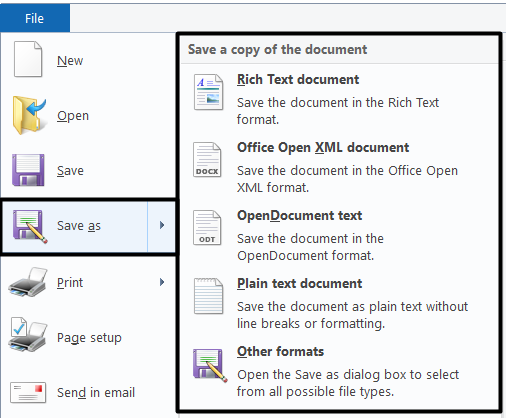
1.If you want to save a new file, open theFile menu, and click onSave as.
2.Now,key in a new namefor the file in the File name text box and clickSave.
The changes will save instantly.
it’s possible for you to also do the same by pressing theCtrl and Skey combinations.
The best part is that you might easily print the document directly from the WordPad app.
2.Next, punch thePrintoption in the dropdown menu andselect the printeryou want to use to take out the prints.
Tip:you could also open theWindows Operating Systemwindow by pressing theCtrl + Pkeyboard combination.
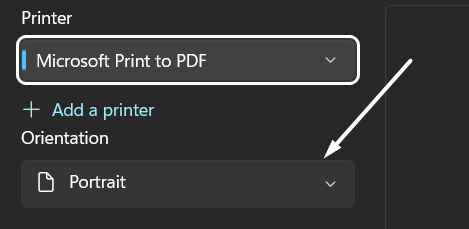
3.Now, select whether the print should be inPortrait orientationorLandscape orientationfrom theOrientationdropdown.
4.In the end, uncheck theLet the app change my printing preferencescheckbox and click thePrintbutton.
you could also use keyboard shortcuts while using WordPad to execute some tasks in a few seconds.
Thus, in this section, weve mentioned some keyboard shortcuts that you could use while using WordPad.
you oughta start by opening the WordPad app on your Windows 11 PC.
Once the app is opened, choose theFileoption in the top menu and selectNewfrom the secondary menu.
Why Is My WordPad Not Working?
There could be varied reasons for the ill-functioning of the WordPad app.
Yet, the most common reason is thebugs within the app.
In that case, we suggestupdating the PCto the latest Windows build.
it’s possible for you to also try restarting the PC.
How Do You Edit a WordPad Document?
you’re free to start editing a document right after opening it in WordPad.
To open an existing document in WordPad, click onFilein the top menu and select theOpenoption from the dropdown.
Lastly,choose an RTF, Docx, or TXT filethat you want to open in WordPad and clickOpen.
The selected file will now open in the WordPad app.
Can You Reinstall WordPad?
Windows allows you to uninstall the WordPad program from the system.
But it doesnt give the option to set up the program back on the system.
Dont you feel the same?
In this guide, we explained every feature of WordPad in detail.
Do let us know which part of the guide helped you the most.
