Then, burn the ISO image into a USB drive with Etcher, Rufus, or other burning tools.
Step 2:tap the button below to free download MiniTool Partition Wizard.
This tool can help you install Arch Linux more easily.
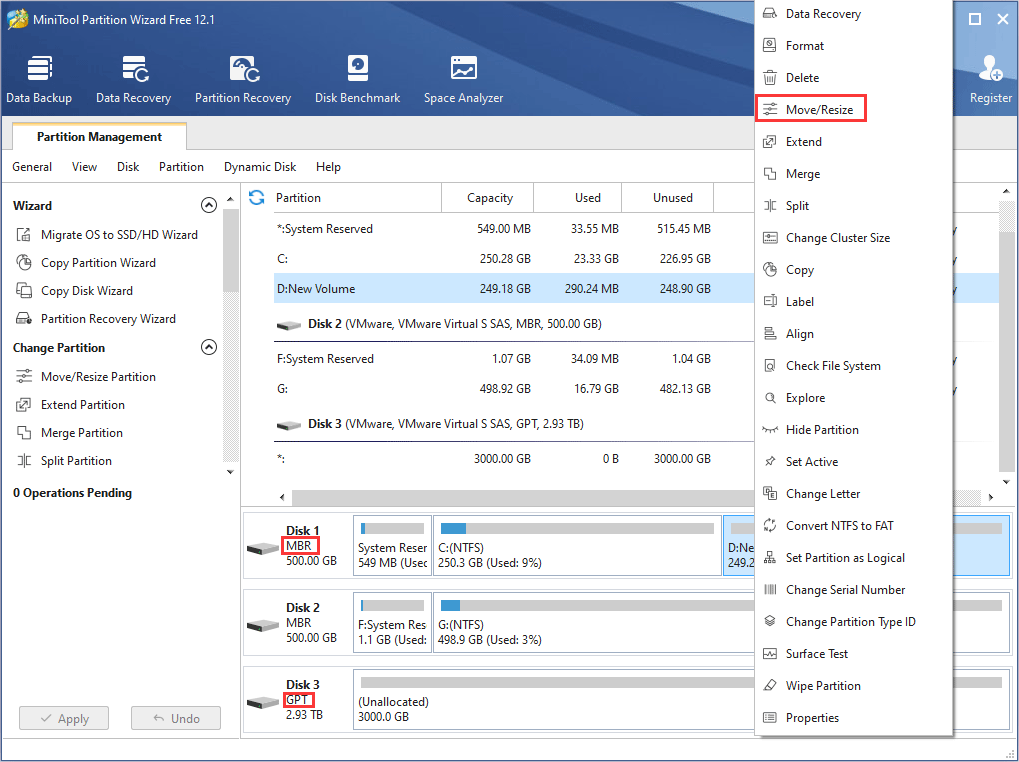
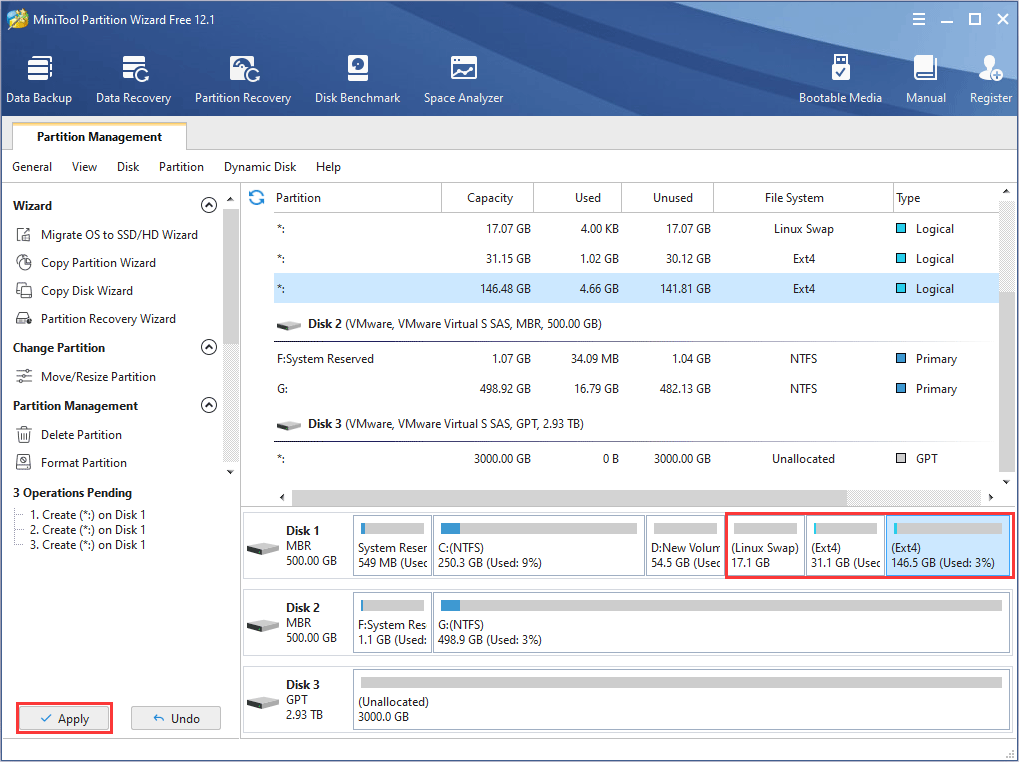
Then, right-click a partition on the disk and chooseMove/Resize.
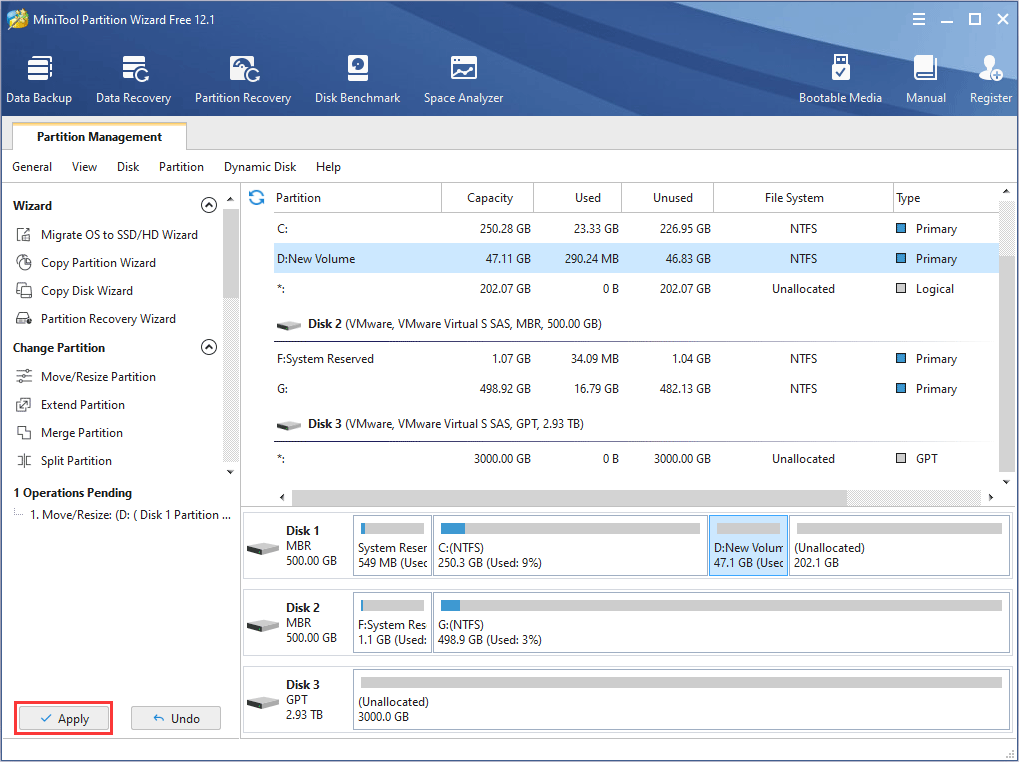
With these methods, you might resize and then move all partitions to create unallocated space.
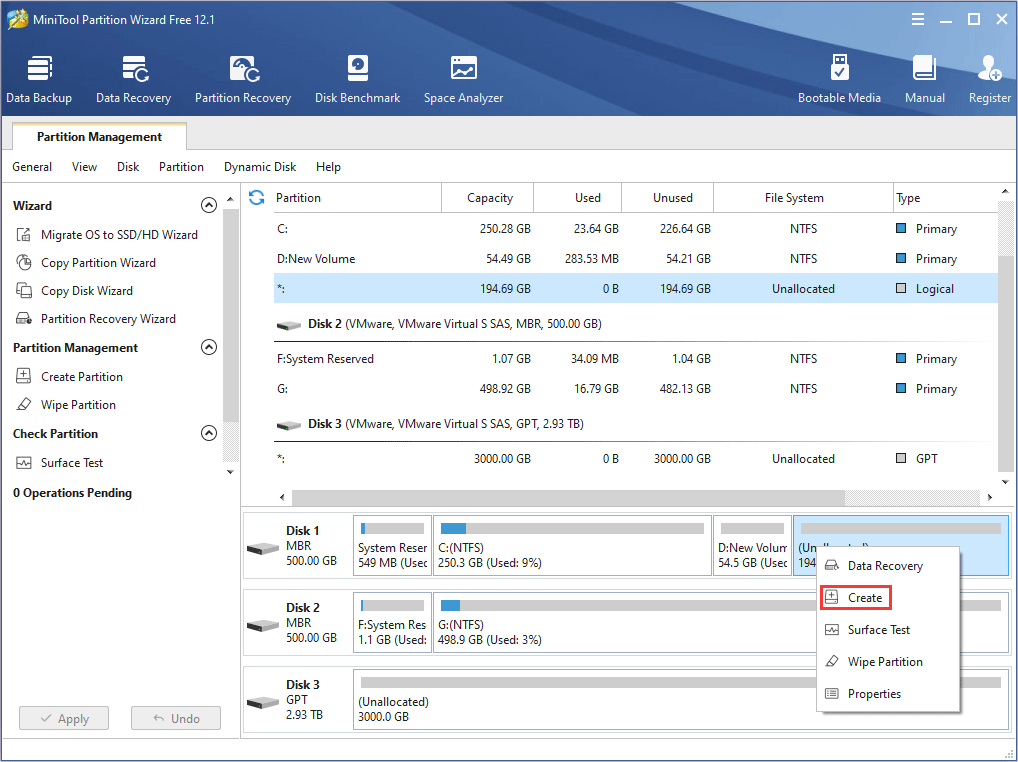
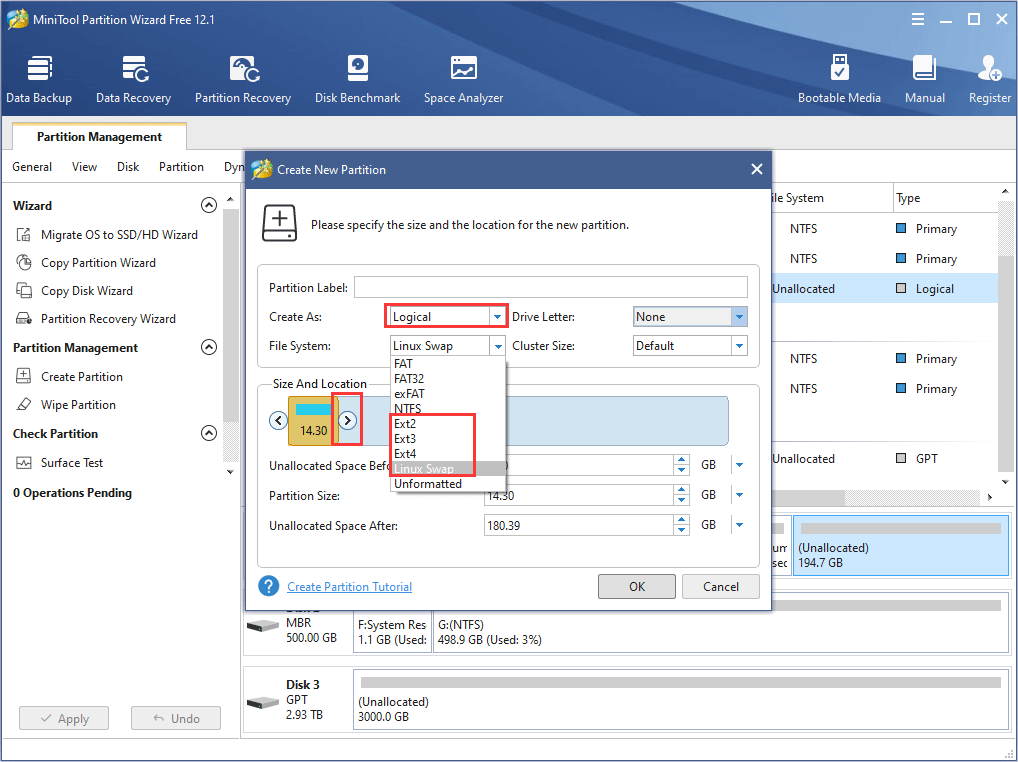
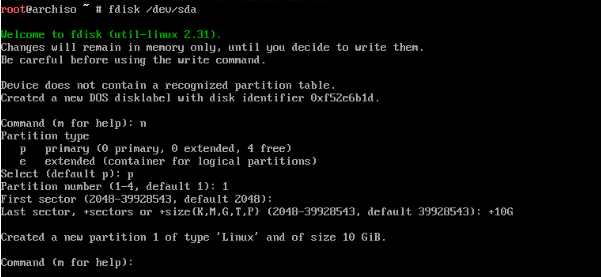
Step 6:Right-hit the unallocated space and chooseCreate.

Then, you could continue to perform the above operations.
Step 9:Connect the Arch Linux installation USB drive to your machine and then kickstart your machine.
Once the PC reboots, press the BIOS key appearing on the screen to enter Firmware.
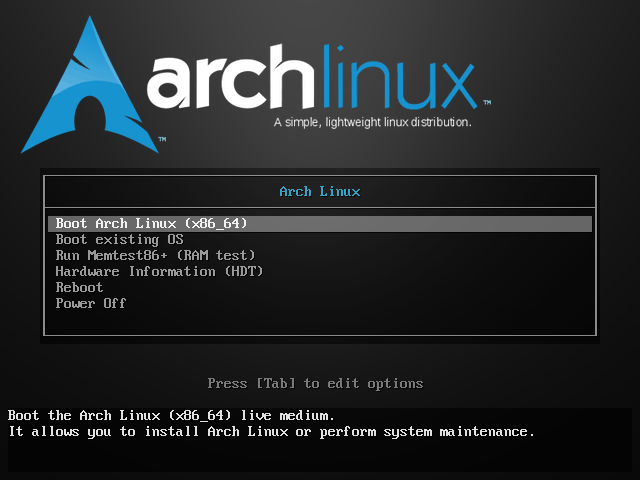
Step 10:After booting from the USB drive, you should see the following picture.
If you enter Windows directly, c’mon check whether the startup sequence is set successfully.
If you do not see this interface, yo check whether the USB installation media is successfully created.
In the picture, chooseBoot Arch Linux (x86_64)option.
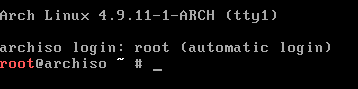
After loading is complete, you will enter an interface with a command prompt.
In this interface, you are to execute a series of commands to install Arch Linux on your disk.
But if you do not want to change the default US keyboard layout, you may skip this step.
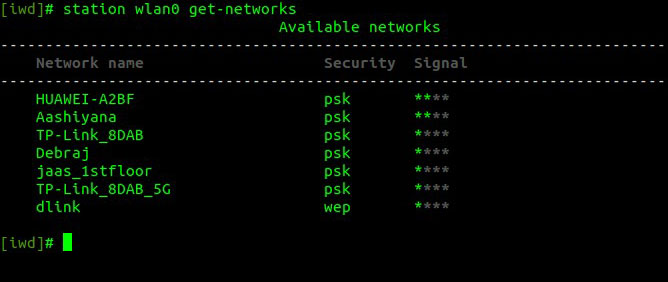
Step 13:Connect to Internet.
Arch Linux install cannot be completed offline, because it needs to download the required components.
Therefore, you should first connect to the Internet.
Under normal circumstances, this command will not give you output.
No output is the best message.
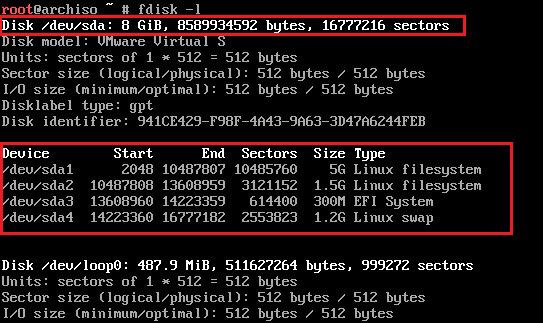
Step 15:Run fdisk -l command to check current partition layout.
The first mirror image has the highest priority.
Finally, save and exit with wq command.
Here you’re gonna wanna wait for a while.
When the command prompt reappears, you’ve got the option to proceed to the next step.
Step 19:Run genfstab -L /mnt » /mnt/etc/fstab command to generate fstab file.
Step 20:Run arch-chroot /mnt command to give the control right to our newly installed Arch Linux system.
After performing this step, our operations will be performed in the newly installed system on the disk.
Step 21:Use the following two commands to set time zone.

Step 22:Generate locale file to set the language options you wish to use.
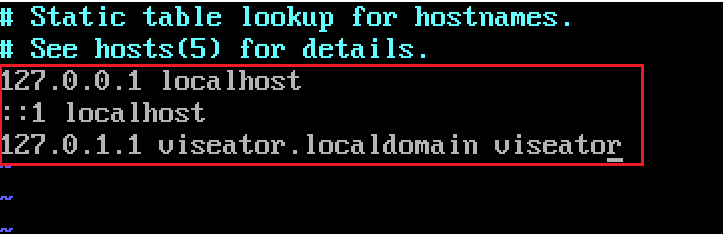
Step 23:Set hostname.
Step 24:Run passwd command to set the root password.
Step 25:Use Pacman package manager to install Bootloader.
When you do this step, you may encounter various problems for various reasons.
For example:
In a word, if your operations are not correct, you may encounter problems.
If so, like search online to find solutions.
Step 26:The last step is to reboot your rig.
yo run exit command and then reboot command.
If you reboot and log into Arch Linux smoothly, the Arch Linux install is completed.
Linux Desktop Environments Comparison: Cinnamon vs MATE vs XFCE
Here is a complete Arch Linux install guide.
Can you install Arch Linux smoothly by following this guide?
Have you encountered problems when installing Arch Linux?
hey leave a feedback in the following comment zone.
We will get back to you as soon as possible.
