When theSteam not recognizing external hard driveissue occurs, you cant play games installed on that drive.
How to fix the issue?
Here,MiniToolcollects some useful troubleshooting methods for you.
Steam, developed by Valve Corporation, is a video game digital distribution platform.
Launched as a software client in September 2003, it provides game updates automatically for Valves games.
It expanded to distributing third-party titles in late 2005.
Given that fact, plenty of gamers play games on Steam.
They can eat away storage space quickly.
What causes Steam not recognizing second hard drive?

How to solve the issue of Steam not detecting storage drives?
Well, this post will walk you through the Steam not recognizing second hard drive fixing process.
Before that, you might get a quick preview by reading the content below!
This operation should force Windows to reinitialize the drive and make Steam detect it.
Its recommended to restart Steam and your setup after reconnecting the external hard drive.
This helps make Steam recognize the drive.
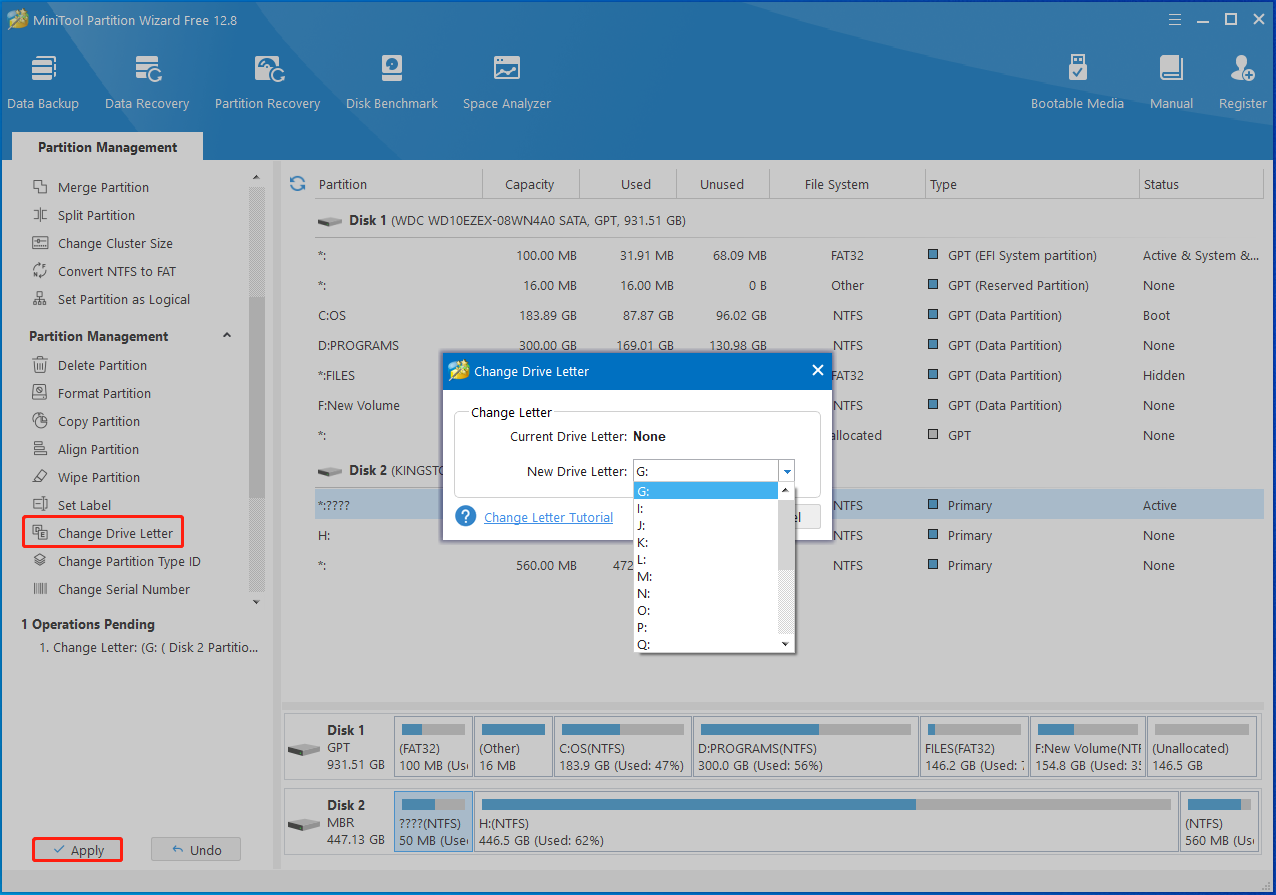
In this case, you better assign a drive letter manually.
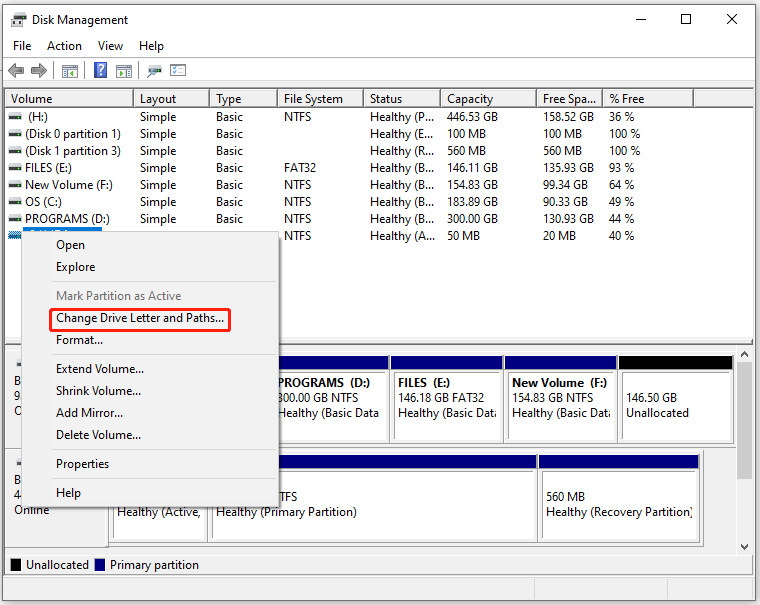
Step 1:Right-click theWindowsicon to open theStartmenu.
Step 2:ClickDisk Managementfrom the menu.
Step 3:Right-press the connected external hard drive and chooseChange Drive Letter and Paths.
Step 4:In the pop-up window, click theAddbutton.
Step 5:From the drop-down menu, choose an available drive letter.
Then clickOKto save changes.
Sometimes, you may encounter the change drive letter and paths greyed out issue.
If so, you cant assign the drive letter in Disk Management.
Then clickOK > Applyto execute the operation.
There are multiple library folders, including one for the games on the external hard drive.
Step 1:Launch Steam and openSettingsmenu.
Step 2:SelectDownloadsfrom the left-hand navigation under theSettingsmenu.
Step 3:Add aSteam Library Folderto the external hard drive.
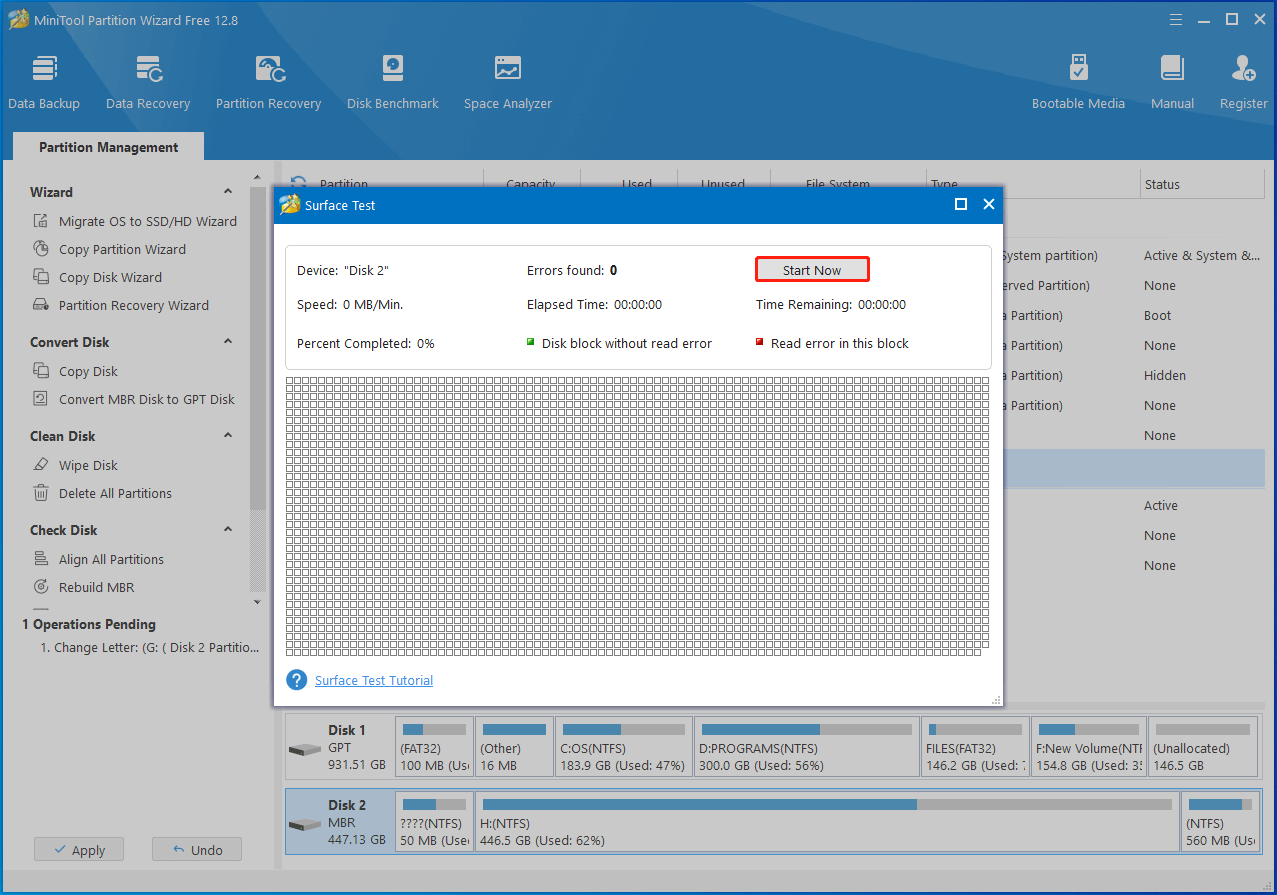
you might use either CHKDSK or MiniTool Partition Wizard to do that.
Step 1:Typecmdin the search box, and then clickRun as administratorunder the displayedCommand Promptprogram.
Alternatively, right-clickCommand PromptunderBest matchand clickRun as administrator.
Step 2:In the prompted window, typechkdsk g: /fand hitEnter.
You should replace g with the exact drive letter of your external hard drive.
Step 3:Wait for the finish of the process.
SSD is gradually replacing traditional HDD due to its high disk performance.
There are some tools that can help you monitor SSD health and performance.
Here comes the need for MiniTool Partition Wizard again.
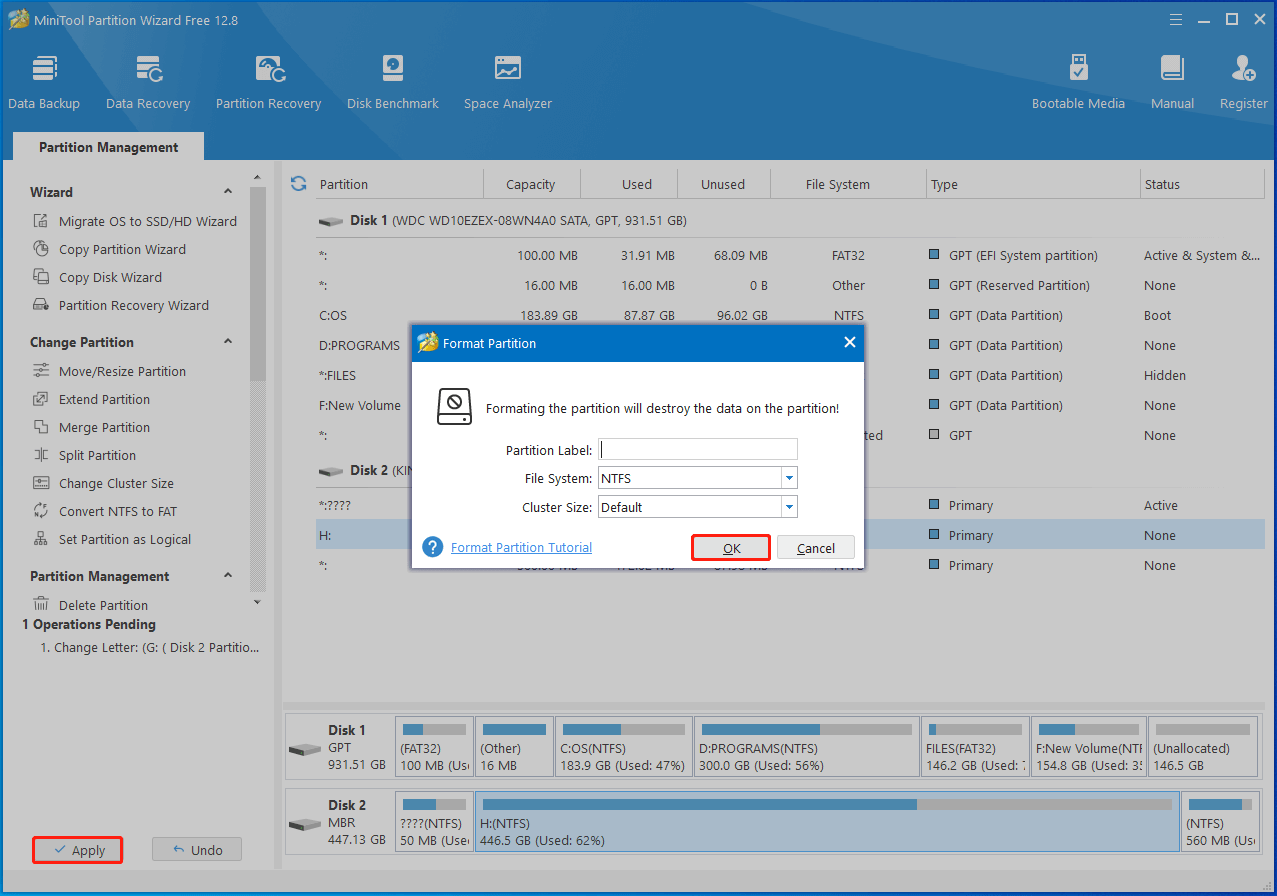
As a storage rig formatter, it can format SSD/HDD/USB/SD card with ease.
Then click theOKbutton to save changes.
Step 3:Finally, clickApplyto carry out the operation.
The Windows built-in tool Disk Management also helps you format the external hard drive.
The following steps show you how to format the hard drive via Disk Management.
If you are searching for the answer, this post is what you need.
We will get back to you as soon as possible.
