If youd like to change Windows 10 lock screen timeout controls, this post provides two ways.
Learn how to adjust the lock screen timeout in Windows 10 by editing the registry or using command line.
Windows 10 computer features a lock screen before you sign into your account.

Windows 10 lock screen displays date and time, beautiful background images.
The computer display will turn off after 60 seconds when you lock your Windows 10 computer screen.
This is a default design.
After 60 seconds, the computer screen will turn black.
Users cant customize this Windows 10 lock screen timeout prefs in Control Panel or prefs.
But there are other two ways to allow you to change the Windows 10 lock screen timeout.
One is editing the Registry, another is to use command line.
Check the detailed steps below.
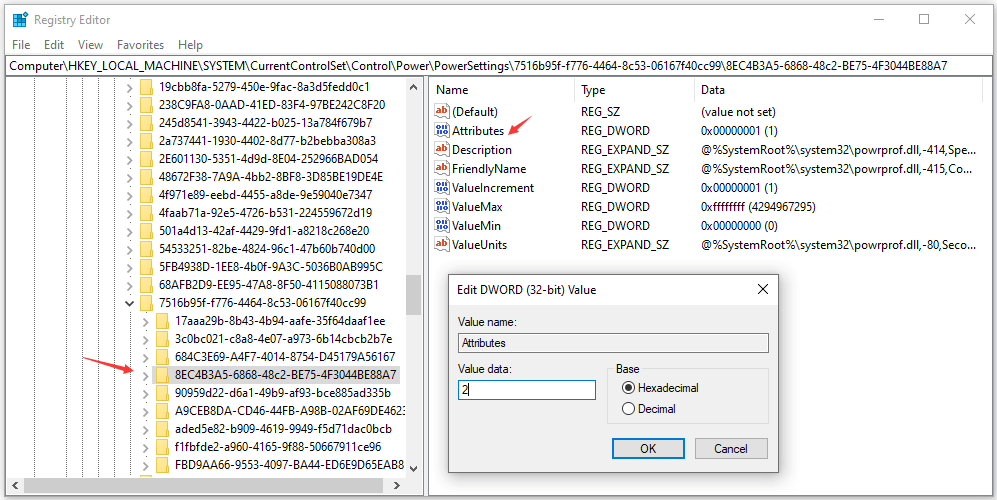
Editing the registry can cause irreversible damages to your setup if you make some mistakes in doing it.
MiniTool ShadowMakeroffers all-around backup schemes incl.
system backup and restore, files and folders backup,automatic backup, and more.
Always keep your data safe.
Step 4.Next it’s possible for you to clickStartand typePower Options.
Choose and openPower Options.
Step 5.ClickChange plan settingsto openEdit Plan Settingswindow.
ClickChange advanced power settingslink.
Step 6.ExpandDisplayand clickConsole lock display off timeout.
Now you’re able to change the default time to any time you want in minutes.
Typecmdand pressCtrl + Shift + Enterkeys at the same time to run Windows Command Prompt as administrator.
Step 2.Next bang out this command:powercfg.exe /SETACVALUEINDEX SCHEME_CURRENT SUB_VIDEO VIDEOCONLOCK 60.
Replace 60 with the time (in seconds) you want to set the timeout.
HitEnterto execute the command.
Step 3.Next input this command:powercfg.exe /SETACTIVE SCHEME_CURRENT, and hitEnter.
